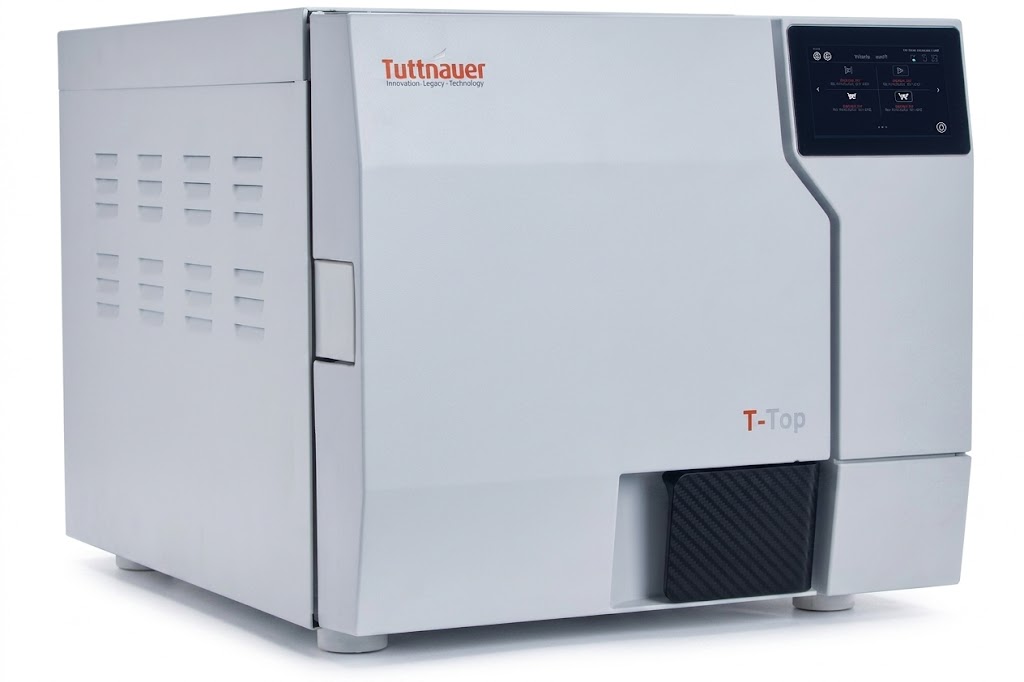
Dental Equipment Parts Compatibility Guide Matching OEM & Aftermarket This dental equipment parts compatibility guide helps you find affordable, reliable replacement components for top major brands without compromising on fit, safety, or clinical performance. In a busy clinical environment, equipment downtime directly translates to lost revenue and disrupted patient schedules. When a delivery unit, utility system, or operatory light malfunctions, procuring the right fix shouldn’t feel like a guessing game. While ordering original equipment manufacturer (OEM) components is straightforward, navigating secondary market alternatives with technical precision can save you thousands in unnecessary overhead. OEM vs. Aftermarket: Understanding the Landscape Before mixing components within your operatory infrastructure, it is critical to understand the distinction between your sourcing options: OEM (Original Equipment Manufacturer): These are branded pieces built directly by companies like A-dec, Midmark, or Pelton & Crane. They are identical to the assets originally installed in your clinic. Aftermarket Components: Fabricated by specialized secondary manufacturers, these alternatives are designed to mirror the exact fit, thread pitch, and voltage specifications of original infrastructure at a lower cost. Cross-Compatible Hardware: Standardized industrial parts (such as specific pneumatic tubing, O-rings, and quick-disconnect fittings) that are universally utilized across multiple major dental brands. Technical Matching Rules for Core Equipment Categories To safely integrate non-OEM parts into your clinic, referencing a comprehensive dental equipment parts compatibility guide allows your administrative and maintenance teams to cross-reference three key engineering metrics before making a purchase. 1. Pneumatic & Hydraulic Fittings Dental delivery systems rely on intricate networks of pressurized lines. When sourcing replacement foot controls, blocks, or syringes, look beyond the brand name. Verify the thread standard—most North American systems utilize standard imperial threads (like 10-32 threads), whereas European imports often require metric configurations. 2. Electrical Specifications & Solenoids Solenoid valves control the flow of air and water to your handpieces. When substituting an aftermarket solenoid into a major delivery unit, always match the voltage (commonly 12V DC, 24V AC, or 24V DC) and wattage ratings. Installing an incorrect voltage component will instantly short out circuit boards or fail to open under pressure. 3. Mechanical Footprints & Handpiece Tubing Handpiece tubing is highly standardized based on ISO layouts (such as Midwest 4-hole or Borden 2-hole patterns). However, the internal configurations of the administrative control blocks they attach to vary. Ensure aftermarket tubing bundles specify compatibility with your exact model’s internal housing jacket. Major Brand Compatibility Blueprint When mixing and matching across manufacturers, utilizing a standardized dental equipment parts compatibility guide helps protect your equipment’s structural integrity. Use the baseline matrix below for common setups: System Category Major OEM Brands Safe Aftermarket Sourcing Criteria Delivery Units & Blocks A-dec, Pelton & Crane, Marus Match barbs and 10-32 thread dimensions; verify polyurethane line diameters. Autoclaves & Sterilizers Midmark (M9/M11), Tuttnauer Match door gasket profiles and cross-reference heating element wattages perfectly. Vacuum & Air Systems Ramvac, Air Techniques Utilize identical micron ratings for intake filters; check manifold port threading. Eliminating the Part Number Confusion The secret weapon of efficient clinic procurement is maintaining a comprehensive master cross-reference sheet. Whenever an internal component is successfully replaced, document the OEM part number alongside the verified aftermarket substitute. By leveraging this dental equipment parts compatibility guide, your group practice can drastically reduce dependency on sole-source distributors, lower your structural overhead, and establish a highly resilient supply chain that keeps your operatory rooms running flawlessly.
The Compliance Guide: Navigating Sterilization Standards and Diagnosing Autoclave Failures
Dental Autoclave Troubleshooting Guide: Navigating Compliance & Care In a dental clinic, instrument sterilization isn’t just a regulatory checkbox—it is the backbone of clinical safety and infection control. If your sterilizer unexpectedly throws an error code right in the middle of a busy afternoon, having a dependable dental autoclave troubleshooting guide on hand is essential to minimize practice downtime. Understanding how to navigate sterilization standards and quickly pinpointing mechanical issues ensures your clinic operates smoothly and remains completely compliant. Understanding Sterilization Compliance Standards To effectively troubleshoot your autoclave, you first need to understand what parameters define a successful sterilization cycle. Regulatory bodies demand precise monitoring of three critical variables: Temperature: The internal chamber must reach and maintain the exact temperature required to destroy microbial life (typically 121°C or 134°C, depending on the cycle type). Pressure: Steam must be pressurized to ensure it penetrates instrument packaging effectively. Time: The critical temperature and pressure must be sustained continuously for a designated exposure period. Compliance requires verifying these parameters through a combination of physical, chemical (e.g., indicator strips), and biological indicators (spore testing). When any of these elements drop below baseline thresholds, your autoclave will abort the cycle and display a failure code. Dental Autoclave Troubleshooting Guide: Common Failures When a cycle fails, the root cause usually boils down to a few common culprits. Before calling an expensive field technician, walk through these troubleshooting steps to diagnose the issue. 1. The Cycle Aborted Due to “Low Temperature” or Heating Failure If your autoclave is struggling to reach the required temperature, it is often a water or structural issue. Check the water quality: Ensure the reservoir is filled with fresh, high-quality distilled water. Tap water or contaminated water leaves mineral deposits on the heating elements, severely reducing heating efficiency. Overloading the chamber: Packing too many instrument cassettes or pouches into a single load prevents steam from circulating evenly, creating cold pockets. Always leave adequate space between items. 2. Steam Leaks and Pressure Drops If you hear a persistent hissing sound or if the unit fails to build up pressure, you are likely dealing with a seal failure. Inspect the door gasket: Over time, the rubber door gasket dries out, cracks, or collects debris. Wipe the gasket down weekly with a damp, lint-free cloth. If you see visible cracks or flattening, replace the gasket immediately. Examine the ring plug: Ensure the small rubber ring plugs or safety valves are seated tightly and aren’t brittle. 3. Wet Packs at the End of a Cycle Finding moisture on or inside instrument pouches after a completed cycle is a major compliance violation, as wet packaging can draw in airborne contaminants. Verify the dry cycle: Ensure the full dry cycle was allowed to complete without interruption. Check the chamber filter: A clogged chamber drain filter prevents moisture from escaping efficiently during the exhaust phase. Clean or replace the filter according to your manufacturer’s schedule. Quick Reference Diagnostic Table Use this reference overview alongside your daily dental autoclave troubleshooting guide routines to quickly flag operational errors before they disrupt your schedule. Symptom / Error Potential Root Cause Immediate Troubleshooting Action Hissing sound from door Dirty, worn, or misaligned door gasket. Clean the gasket surface; replace if cracked or warped. “Low Water” error code Insufficient water or high mineral buildup. Refill with pure distilled water; clean reservoir sensors. Instruments remain wet Interrupted dry cycle or clogged drain filter. Clear the chamber drain filter and rerun the dry cycle completely. Failed spore / chemical test Overloaded chamber or faulty heating element. Reduce load size and ensure proper spacing; check heating elements. Maintaining Your Autoclave for Total Compliance Following a reliable dental autoclave troubleshooting guide is excellent for emergencies, but routine preventive maintenance is the absolute best way to avoid using one in the first place. Establish a strict cleaning routine: Daily: Wipe down the door gasket and internal chamber surfaces. Weekly: Run a dedicated chamber cleaning cycle using manufacturer-approved cleaner, and clean the internal drain strainer. Monthly: Inspect the overall integrity of the safety valves and gaskets. By pairing rigorous compliance standards with basic troubleshooting knowledge, you can catch minor mechanical hiccups before they escalate into catastrophic equipment failures.
The Ultimate Preventive Maintenance Guide: How to Extend the Life of Your High-Speed Dental Handpieces
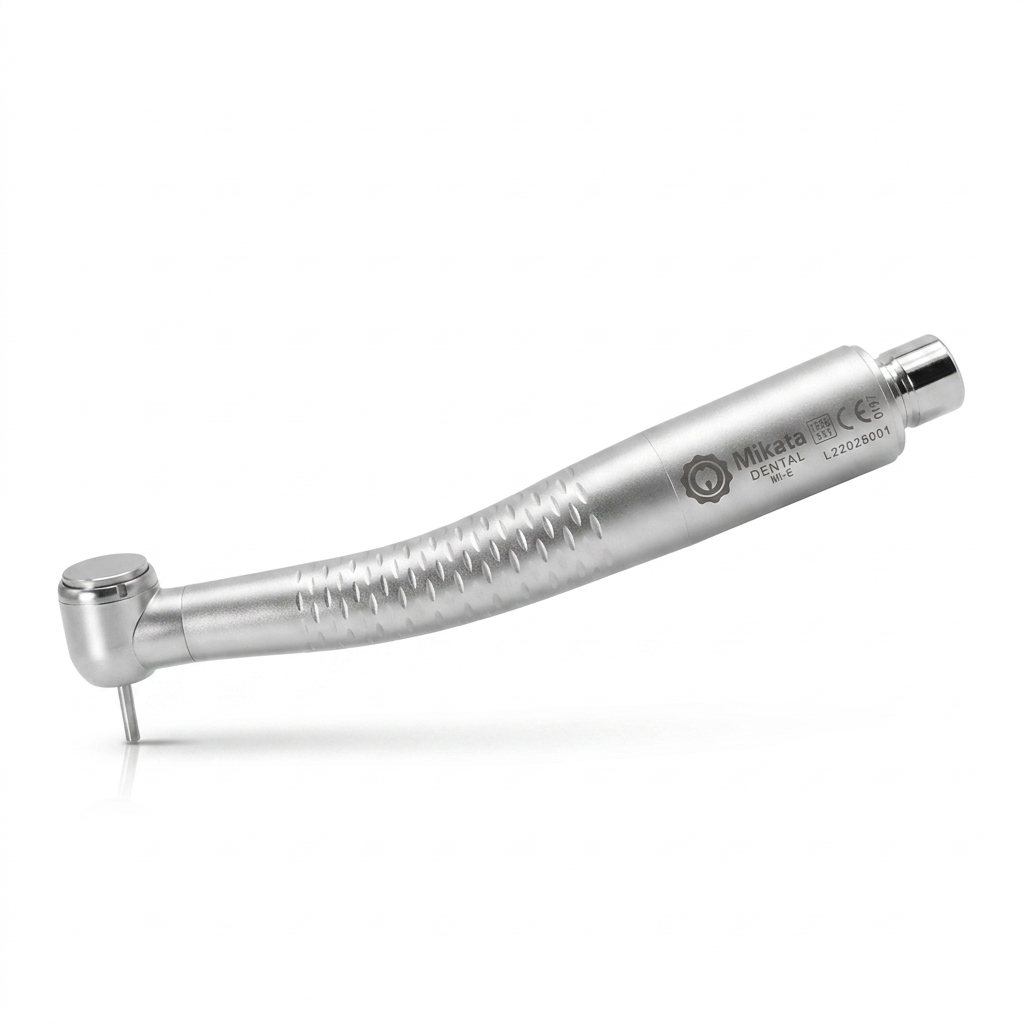
The Ultimate Preventive Maintenance Guide: How to Extend the Life of Your High-Speed Dental Handpieces In a busy dental practice, your high-speed handpiece is the ultimate workhorse. If you want to avoid unexpected downtime and protect your clinic’s bottom line, mastering a proper dental handpiece maintenance checklist is absolutely essential. When a handpiece fails, it does more than just disrupt your schedule—it causes unexpected downtime, frustrates patients, and leads to costly emergency repairs or replacements. The good news? Most premature handpiece failures are entirely preventable. By implementing a consistent dental handpiece maintenance checklist, you can drastically extend the life of your turbines and bearings, keeping your operatory running like a well-oiled machine. Why High-Speed Handpieces Fail prematurely Before diving into the routine, it helps to understand the two main enemies of your handpiece’s internal components: debris build-up and improper lubrication. During use, a handpiece acts like a miniature vacuum, drawing bio-burden, tooth dust, and moisture into the internal housing. If this debris isn’t regularly cleared out, it bakes onto the bearings during the autoclaving process. Combine that with under-lubrication (which causes friction) or over-lubrication (which clogs the air lines), and you have a recipe for turbine failure. The Daily Dental Handpiece Maintenance Checklist: 3 Critical Tips for Perfect Care To protect your investment, ensure your clinical team follows these step-by-step instructions after every single patient use. 1. Wipe Down and Purge Remove the bur: Always remove the diamond or carbide bur before cleaning. Clean the exterior: Wipe the outside of the handpiece with a damp paper towel or a soft brush under running water to remove gross debris. Important: Avoid submerging the handpiece in water or using harsh chemical disinfectants, as these can corrode the internal metals and break down seals. Purge the lines: Attach the handpiece to the tubing and run air and water through it for 20–30 seconds to flush out any retracted fluids from the internal lines. 2. Lubrication (The Critical Step) Choose the right adapter: Use the correct nozzle attachment for your specific handpiece brand (e.g., Midwest 4-hole, KaVo, NSK). Spray the drive air line: Inject the manufacturer-recommended lubricant into the drive air tube (the smaller of the two large tubes on a standard 4-hole connection) for 1–2 seconds. Expel excess oil: Reattach the handpiece to the dental unit and run it for 10–15 seconds before autoclaving. This distributes the oil evenly across the bearings and expels any excess fluid so it doesn’t bake into the turbine during sterilization. 3. Sterilization Bag it properly: Place the clean, lubricated handpiece into a sterilization pouch. Follow parameters: Autoclave the handpiece according to the manufacturer’s exact temperature and time recommendations. Dry completely: Never skip the dry cycle. Leaving moisture inside the handpiece can lead to rust and premature bearing failure. Pro-Tips for Long-Term Maintenance Beyond your daily dental handpiece maintenance checklist, keeping an eye on these technical variables will ensure ultimate equipment longevity: Check Your Air Pressure: Running your dental unit at a higher PSI than recommended might make the handpiece feel more powerful, but it puts immense stress on the bearings, causing them to wear out exponentially faster. Stick to the manufacturer’s specified PSI (usually between 30 and 42 PSI). Inspect the Chuck Mechanism: Once a week, test the chuck. Debris can build up inside the push-button mechanism, leading to a loose grip on burs, which is a major safety hazard. Clean the chuck weekly with a dedicated chuck cleaner or brush. Invest in an Automatic Maintenance System: If your clinic handles a high volume of patients, consider upgrading to an automated handpiece cleaning and lubrication station. These systems eliminate human error by delivering the exact amount of oil required and thoroughly purging the internal components every time. Conclusion: Consistency Saves Capital While a routine dental handpiece maintenance checklist might seem like a chore when you’re rushing between appointments, dedicating just two minutes to proper care after each use will save your practice thousands of dollars in turbine replacements and lost production time. Print out the checklist below, laminate it, and keep it right by your sterilization station to ensure your team never misses a step. 📋 Downloadable Dental Handpiece Maintenance Checklist Step Action Item Checked 1 Remove the bur and flush internal water/air lines for 20 seconds. ☐ 2 Clean exterior with running water (do not submerge or use chemical wipes). ☐ 3 Apply 1-2 sprays of quality lubricant into the drive air port using the correct adapter. ☐ 4 Run the handpiece for 15 seconds to distribute oil and purge excess fluid. ☐ 5 Clean the chuck mechanism (weekly or if bur slippage occurs). ☐ 6 Bag the handpiece and run a full autoclave cycle, including the complete dry cycle. ☐