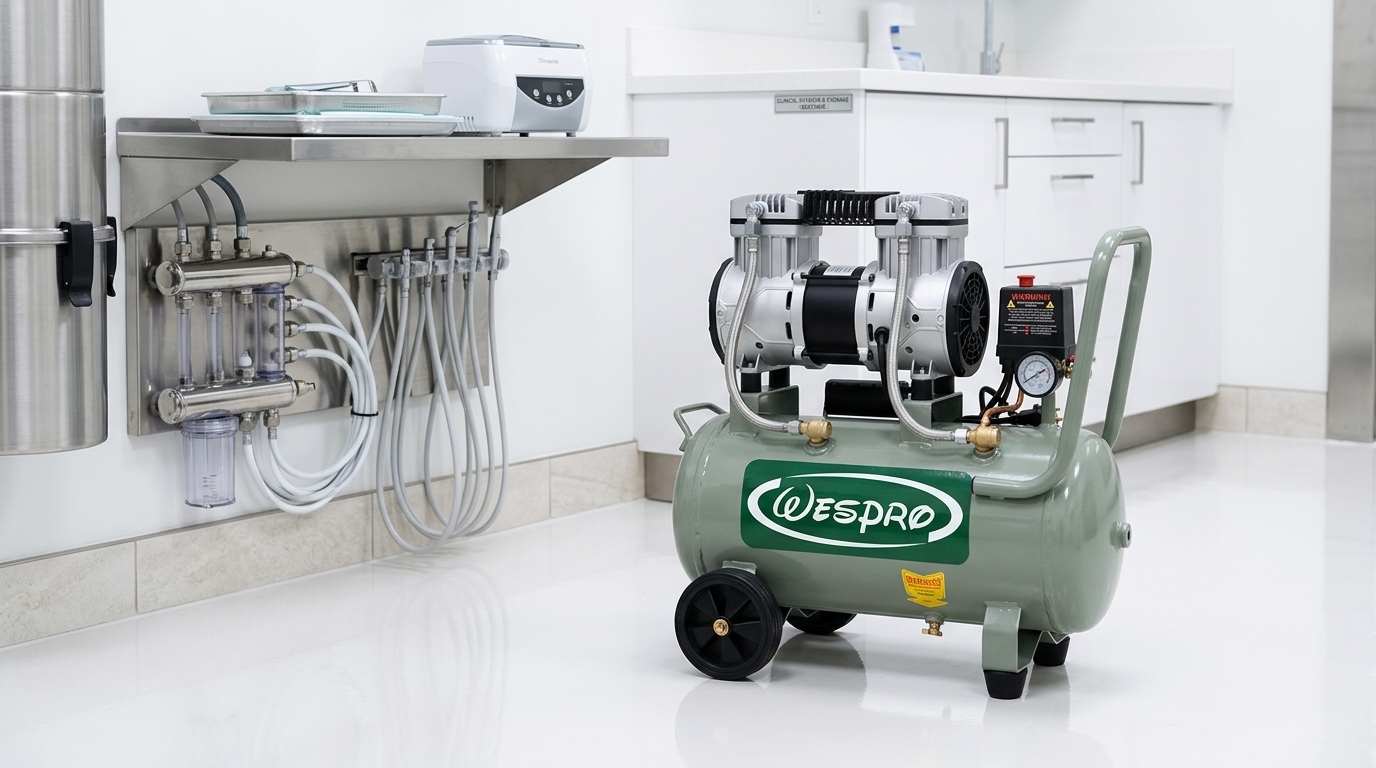
Case Study: The Cost of Neglected Utilities – Saving a Clinic from a Sudden Air Compressor Collapse In a dental clinic, the operatories get all the glory. The high-tech chairs, digital sensors, and sleek delivery units are what patients see. But hidden away in a utility closet or basement is the true beating heart of the entire practice: the dental air compressor. When a dental chair goes down, you lose one room. When your air compressor goes down, your entire practice closes instantly. Recently, a fast-growing clinic reached out to our Waterford Township workshop in a panic. Their dental utility system had suffered a sudden, total pressure collapse right in the middle of a busy morning shift. Here is how our field service technicians diagnosed the issue, got their practice back online, and the critical maintenance lesson that saves thousands in unnecessary equipment replacement costs. The Crisis: Zero Air Pressure on the Delivery Line The clinic called our emergency line reporting that their handpieces were losing torque before cutting out completely. Within minutes, the pressure gauges on every single delivery unit dropped to zero. When our technician arrived at the practice, the utility closet was filled with a distinct burning metallic smell, and the compressor unit was completely unresponsive. Upon tearing down the utility head, we uncovered a cascading chain of failures: The Technical Solution: Precision Overhaul vs. Forced Replacement Many corporate equipment distributors would look at a seized motor and immediately push the clinic to purchase a brand-new $6,000+ utility system, resulting in days of shipping delays and lost practice revenue. Because we have specialized in wholesale components and precision repairs since 1968, our team took a smarter, faster approach: 1 Isolate and Depressurize the System Safety Priority Our tech safely cut the main electrical breakers and completely purged the residual hydraulic and pneumatic pressure from the main holding tanks to prevent valve damage. 2 Rebuild the Compressor Pump & Motor Precision Engineering Instead of scraping the machine, we pulled the seized pump assembly, replaced the burnt electrical components, installed heavy-duty bearings, and restored smooth mechanical rotation. 3 Purge and Sanitize the Storage Tank Moisture Removal We cleared the corrupted auto-drain lines and evacuated gallons of stagnant water from the main tank, completely drying the internal chamber to eliminate the threat of line contamination. 4 Replace Filtration & Drying Elements Pneumatic Protection We installed premium, high-capacity desiccant drying refills and brand-new intake filters, ensuring that only pure, 100% dry air entered the clinic’s master delivery lines. The Vital Lesson: The “Five-Second” Maintenance Check The entire shutdown could have been entirely prevented by a routine maintenance check that takes less than five seconds. While modern dental air compressors feature “automatic” moisture purge systems, these mechanical purge valves eventually clog due to mineral deposits. If your staff isn’t performing a manual tank drain check at least once a week, water accumulates inside the tank. This reduces your air storage capacity, forces the motor to cycle constantly, and ultimately burns out the system. The Cost of Neglect vs. Proactive Care Emergency Repair & Downtime Cost Thousands in lost production + rush technical labor Weekly Maintenance Cost 0$ (5 seconds of staff time to check the drain line) Equipment Lifespan Impact Cut in half by moisture corrosion and continuous running Keep Your Clinic’s Heart Beating Don’t wait for a burning smell or an empty pressure gauge to find out your utilities are failing. Implementing a structured preventative maintenance schedule for your compressor and vacuum systems is the absolute best insurance policy against sudden practice closures. Whether you need a rapid emergency field repair, routine system servicing, or high-quality wholesale replacement filters and valves, the team at Michigan Dental Chair Repair & Wholesale has your back. Keep your practice running smoothly—explore our complete utility parts selection at dentalchairrepair.com, or speak directly with a senior technician at 248-290-9910 to book a comprehensive utility inspection today!
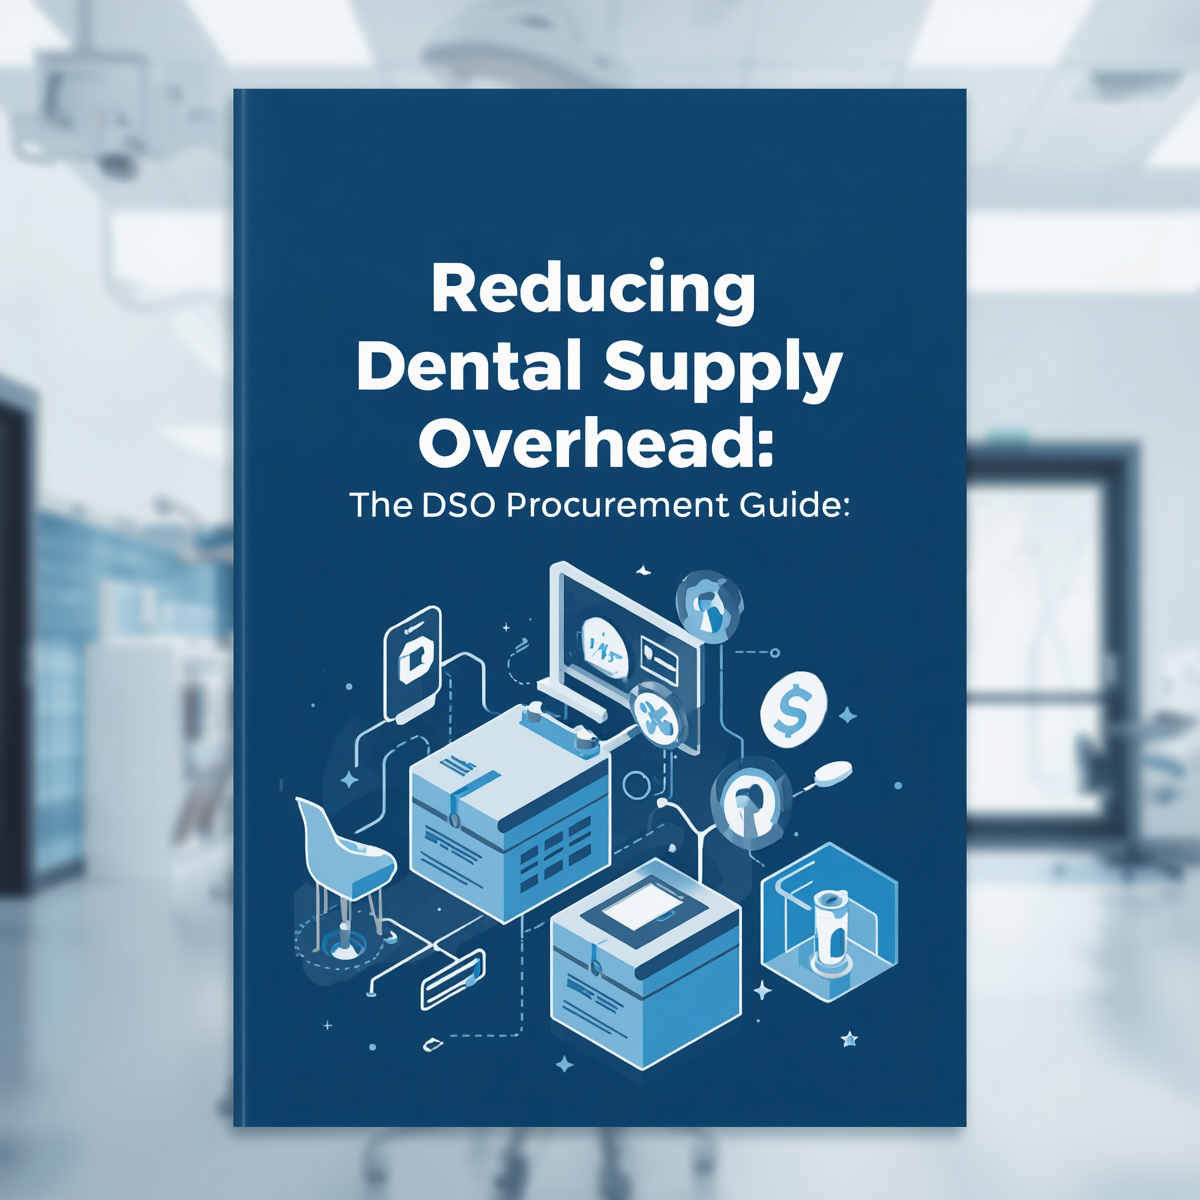
Reducing Dental Supply Overhead: The DSO Procurement Guide
For Dental Support Organizations (DSOs) and multi-location practices, reducing dental supply overhead is one of the fastest paths to increasing clinical profitability. While clinical excellence remains the top priority, administrative inefficiency can quietly drain your bottom line across multiple clinics. Discover actionable procurement strategies to optimize your collective buying power without sacrificing the quality of clinical care. Among all operational expenses, clinical inventory represents a massive opportunity for optimization. Discover actionable procurement strategies for reducing dental supply overhead across multi-location clinics and DSOs without sacrificing clinical quality. The Challenge of Decentralized Purchasing When dental practices scale from a single office to a multi-location network, purchasing habits often remain stuck in the past. If individual office managers or lead assistants are left to order supplies independently, your organization suffers from decentralized purchasing. This fragmentation leads to: Redundant Vendor Accounts: Multiple clinics ordering the exact same items from different distributors at varying price points. Lost Volume Discounts: Missing out on bulk pricing structures because your total order volume is fractured across individual transactions. Inventory Bloat: Over-ordering and product expiration due to a lack of centralized oversight. To shift from a reactive spending model to a strategic one, multi-location practices must leverage their collective buying power. Actionable Strategies for Reducing Dental Supply Overhead Implementing a centralized procurement framework doesn’t mean restricting your clinicians from getting the high-quality tools they need. Instead, it introduces efficiency into how those tools are acquired. 1. Consolidate Your Vendor Footprint The most effective method for reducing dental supply overhead is limiting the number of vendors you buy from. Instead of juggling dozens of niche suppliers, audit your historical spending and consolidate your purchasing power under a select few primary distributors. This instantly elevates your status to a high-volume account, giving you the leverage needed to negotiate preferred formulary pricing, waived shipping fees, and dedicated account support. 2. Establish a Standardized Product Formulary Work alongside your clinical directors to establish a standardized list of approved supplies—from impression materials to PPE. Standardizing your inventory narrows down the variety of products purchased across your organization. By driving higher volume toward fewer specific SKUs, you create a highly predictable purchasing pattern that major manufacturers are eager to discount. 3. Implement Centralized Procurement Software DSOs cannot effectively manage spending through manual spreadsheets. Utilizing a centralized inventory and procurement platform allows management to see exactly what is being spent at each location in real time. Approval Workflows: Set strict monthly budget caps for individual clinics, requiring corporate approval for orders that exceed thresholds. Automated Reordering: Leverage data to reorder items based on actual clinical utilization rather than guesswork. Multi-Location Procurement Comparison Procurement Strategy Small Group Practice (2–4 Locations) Scaled DSO (5+ Locations) Vendor Selection Preferred distributor agreements. Direct-to-manufacturer and formulary contracts. Ordering Process Standardized order guides per office. Centralized procurement software with strict approvals. Overhead Impact Eliminates immediate order duplication. Drives massive, predictable volume discounts across the board. Protecting Clinical Quality While Cutting Costs The primary objective of reducing dental supply overhead should never be a race to the bottom on price alone. Using sub-par materials leads to clinical failures, remake expenses, and chair-time delays—all of which cost far more than any upfront supply discount. True strategic sourcing focuses on maximizing vendor relationships and eliminating administrative waste. By streamlining your administrative processes and consolidating vendor spend, your DSO can achieve world-class clinical safety margins while running a lean, highly profitable operation.
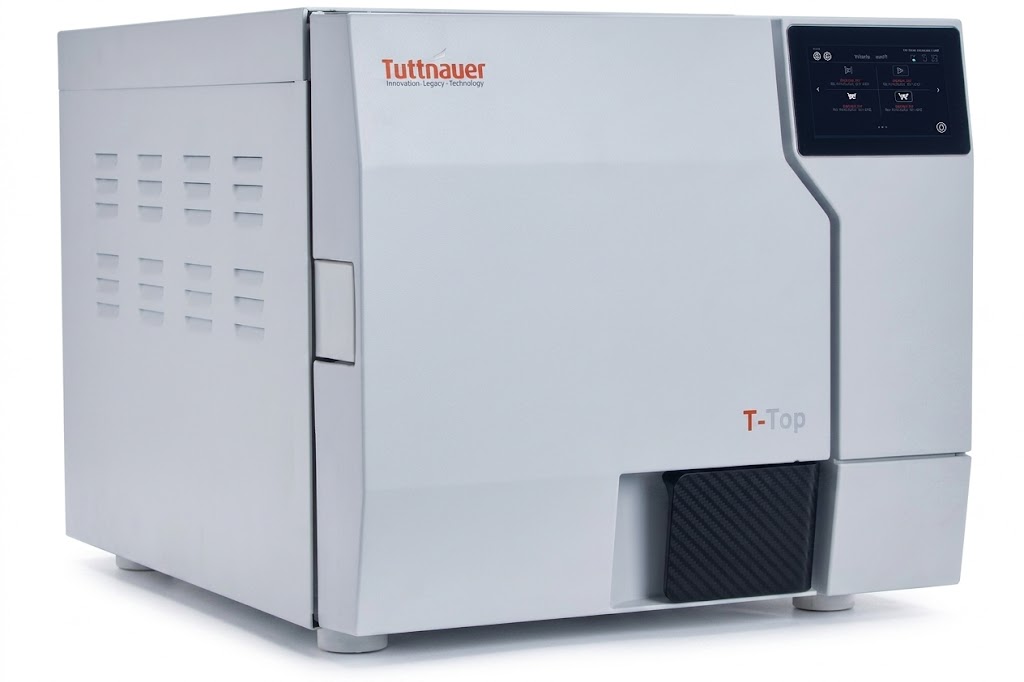
The Compliance Guide: Navigating Sterilization Standards and Diagnosing Autoclave Failures
Dental Autoclave Troubleshooting Guide: Navigating Compliance & Care In a dental clinic, instrument sterilization isn’t just a regulatory checkbox—it is the backbone of clinical safety and infection control. If your sterilizer unexpectedly throws an error code right in the middle of a busy afternoon, having a dependable dental autoclave troubleshooting guide on hand is essential to minimize practice downtime. Understanding how to navigate sterilization standards and quickly pinpointing mechanical issues ensures your clinic operates smoothly and remains completely compliant. Understanding Sterilization Compliance Standards To effectively troubleshoot your autoclave, you first need to understand what parameters define a successful sterilization cycle. Regulatory bodies demand precise monitoring of three critical variables: Temperature: The internal chamber must reach and maintain the exact temperature required to destroy microbial life (typically 121°C or 134°C, depending on the cycle type). Pressure: Steam must be pressurized to ensure it penetrates instrument packaging effectively. Time: The critical temperature and pressure must be sustained continuously for a designated exposure period. Compliance requires verifying these parameters through a combination of physical, chemical (e.g., indicator strips), and biological indicators (spore testing). When any of these elements drop below baseline thresholds, your autoclave will abort the cycle and display a failure code. Dental Autoclave Troubleshooting Guide: Common Failures When a cycle fails, the root cause usually boils down to a few common culprits. Before calling an expensive field technician, walk through these troubleshooting steps to diagnose the issue. 1. The Cycle Aborted Due to “Low Temperature” or Heating Failure If your autoclave is struggling to reach the required temperature, it is often a water or structural issue. Check the water quality: Ensure the reservoir is filled with fresh, high-quality distilled water. Tap water or contaminated water leaves mineral deposits on the heating elements, severely reducing heating efficiency. Overloading the chamber: Packing too many instrument cassettes or pouches into a single load prevents steam from circulating evenly, creating cold pockets. Always leave adequate space between items. 2. Steam Leaks and Pressure Drops If you hear a persistent hissing sound or if the unit fails to build up pressure, you are likely dealing with a seal failure. Inspect the door gasket: Over time, the rubber door gasket dries out, cracks, or collects debris. Wipe the gasket down weekly with a damp, lint-free cloth. If you see visible cracks or flattening, replace the gasket immediately. Examine the ring plug: Ensure the small rubber ring plugs or safety valves are seated tightly and aren’t brittle. 3. Wet Packs at the End of a Cycle Finding moisture on or inside instrument pouches after a completed cycle is a major compliance violation, as wet packaging can draw in airborne contaminants. Verify the dry cycle: Ensure the full dry cycle was allowed to complete without interruption. Check the chamber filter: A clogged chamber drain filter prevents moisture from escaping efficiently during the exhaust phase. Clean or replace the filter according to your manufacturer’s schedule. Quick Reference Diagnostic Table Use this reference overview alongside your daily dental autoclave troubleshooting guide routines to quickly flag operational errors before they disrupt your schedule. Symptom / Error Potential Root Cause Immediate Troubleshooting Action Hissing sound from door Dirty, worn, or misaligned door gasket. Clean the gasket surface; replace if cracked or warped. “Low Water” error code Insufficient water or high mineral buildup. Refill with pure distilled water; clean reservoir sensors. Instruments remain wet Interrupted dry cycle or clogged drain filter. Clear the chamber drain filter and rerun the dry cycle completely. Failed spore / chemical test Overloaded chamber or faulty heating element. Reduce load size and ensure proper spacing; check heating elements. Maintaining Your Autoclave for Total Compliance Following a reliable dental autoclave troubleshooting guide is excellent for emergencies, but routine preventive maintenance is the absolute best way to avoid using one in the first place. Establish a strict cleaning routine: Daily: Wipe down the door gasket and internal chamber surfaces. Weekly: Run a dedicated chamber cleaning cycle using manufacturer-approved cleaner, and clean the internal drain strainer. Monthly: Inspect the overall integrity of the safety valves and gaskets. By pairing rigorous compliance standards with basic troubleshooting knowledge, you can catch minor mechanical hiccups before they escalate into catastrophic equipment failures.