
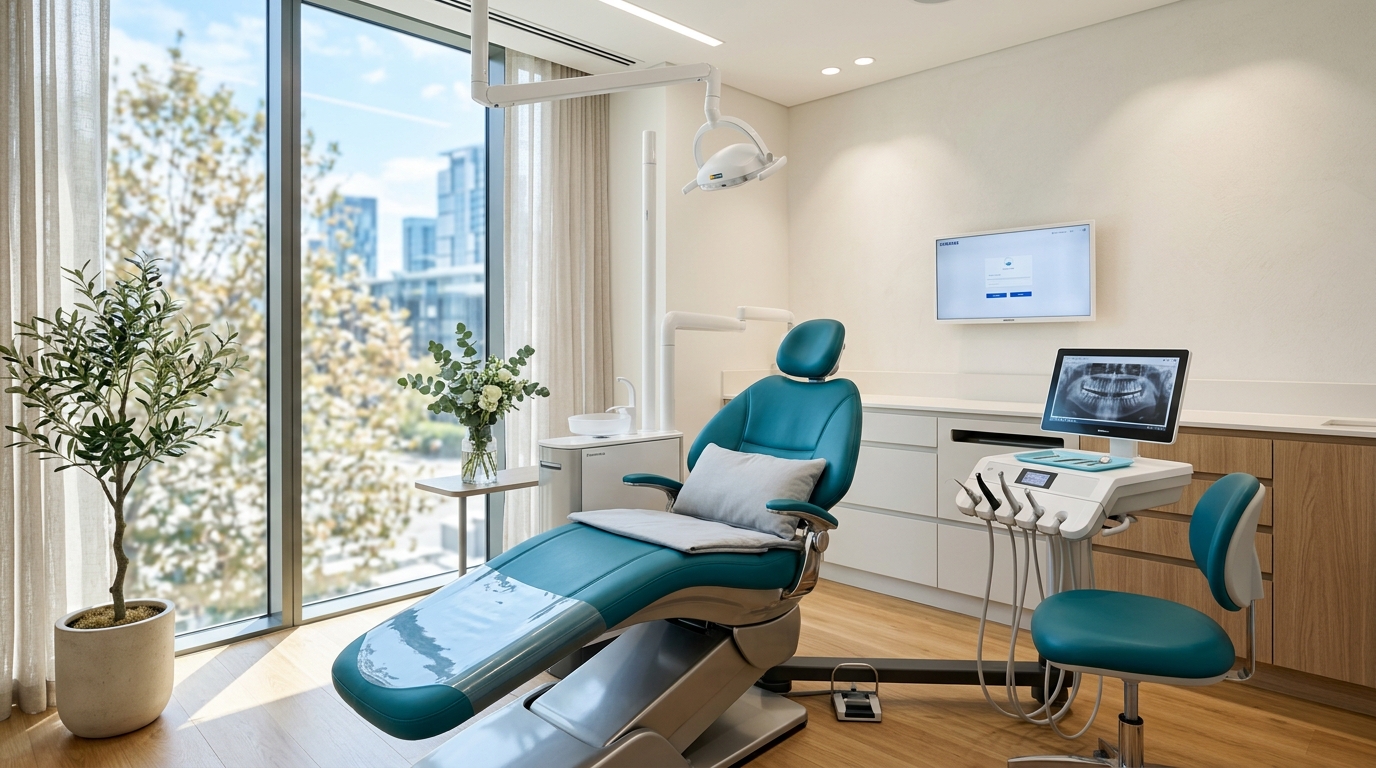
Operatory Modernization: How Dental Chair Re-Upholstery Transforms Your Patient Experience In a modern dental practice, clinical excellence is only half the battle. The other half is patient perception. Before a patient ever opens their mouth for an exam, they are scanning your operatory, making subconscious judgments about your clinic’s cleanliness, technology, and level of care. The absolute focal point of that visual scan? Your dental patient chair. If your chair is sporting cracked vinyl, visible seams worn down by chemical disinfectants, or sagging foam that makes a 45-minute hygiene appointment feel like an endurance test, it sends the wrong message. But you don’t need to replace a perfectly functioning, multi-thousand-dollar mechanical unit just to fix a cosmetic issue. Here is how a professional re-upholstery upgrade completely transforms your patient experience and modernizes your practice environment. 1. Erasing the Aesthetic “Red Flags” Dental operatory surfaces face a brutal daily routine. Strong surface disinfectants are necessary for infection control, but over time, they strip the essential plasticizers out of standard vinyl. The result? Material that becomes stiff, brittle, and eventually cracks. Cracked upholstery isn’t just an eyesore; it’s a clinical liability. Tiny tears in the fabric act as micro-harbors for moisture and debris, making it incredibly difficult to properly sanitize. A seamless, high-grade medical upholstery upgrade instantly restores a pristine, hygienic, and premium look that reassures anxious patients the moment they walk through the door. 2. Upgrading to Ergonomic Support Patient anxiety in the dental chair is deeply tied to physical comfort. When old foam padding flattens out, patients end up resting directly against the rigid internal metal or plastic plate structure of the chair. This creates pressure points in the lower back and neck, causing patients to constantly shift, adjust, and grow increasingly restless during procedures. During a professional restoration, the old, compressed foam is entirely replaced with multi-layered, high-density memory or antimicrobial foam. Sculpted lumbar supports and contouring headrests help keep the patient perfectly positioned and relaxed, making your job easier and their visit infinitely more pleasant. 3. The Power of Color Psychology in Modern Design If your clinic is still rocking the standard dusty mauve, teal, or muted beige of the early 2000s, an upholstery refresh is your fastest ticket to a modern aesthetic. Modern dental design relies heavily on calming, professional color palettes. Swapping out dated tones for contemporary grays, deep navies, or slate blues can instantly make an older operatory feel clean, high-tech, and open. It allows you to match your physical equipment to your modern website and branding seamlessly. High-End Upgrades Without the Capital Shock Replacing a fully operational premium dental chair purely for cosmetic reasons is an incredibly expensive way to update a room. Choosing a specialized, professional upholstery restoration allows you to completely customize the look, feel, and comfort of your existing chairs while keeping your capital expenditure low. At Michigan Dental Chair Repair & Wholesale, our master upholstery technicians handle everything from simple cover replacements to complete custom ergonomic foam sculpting right here in our Waterford Township workshop. Ready to elevate your operatory’s visual appeal and patient comfort? Explore our custom restoration options at dentalchairrepair.com, or chat with our styling and technical team directly at 248-290-9910 to get a custom quote for your practice!
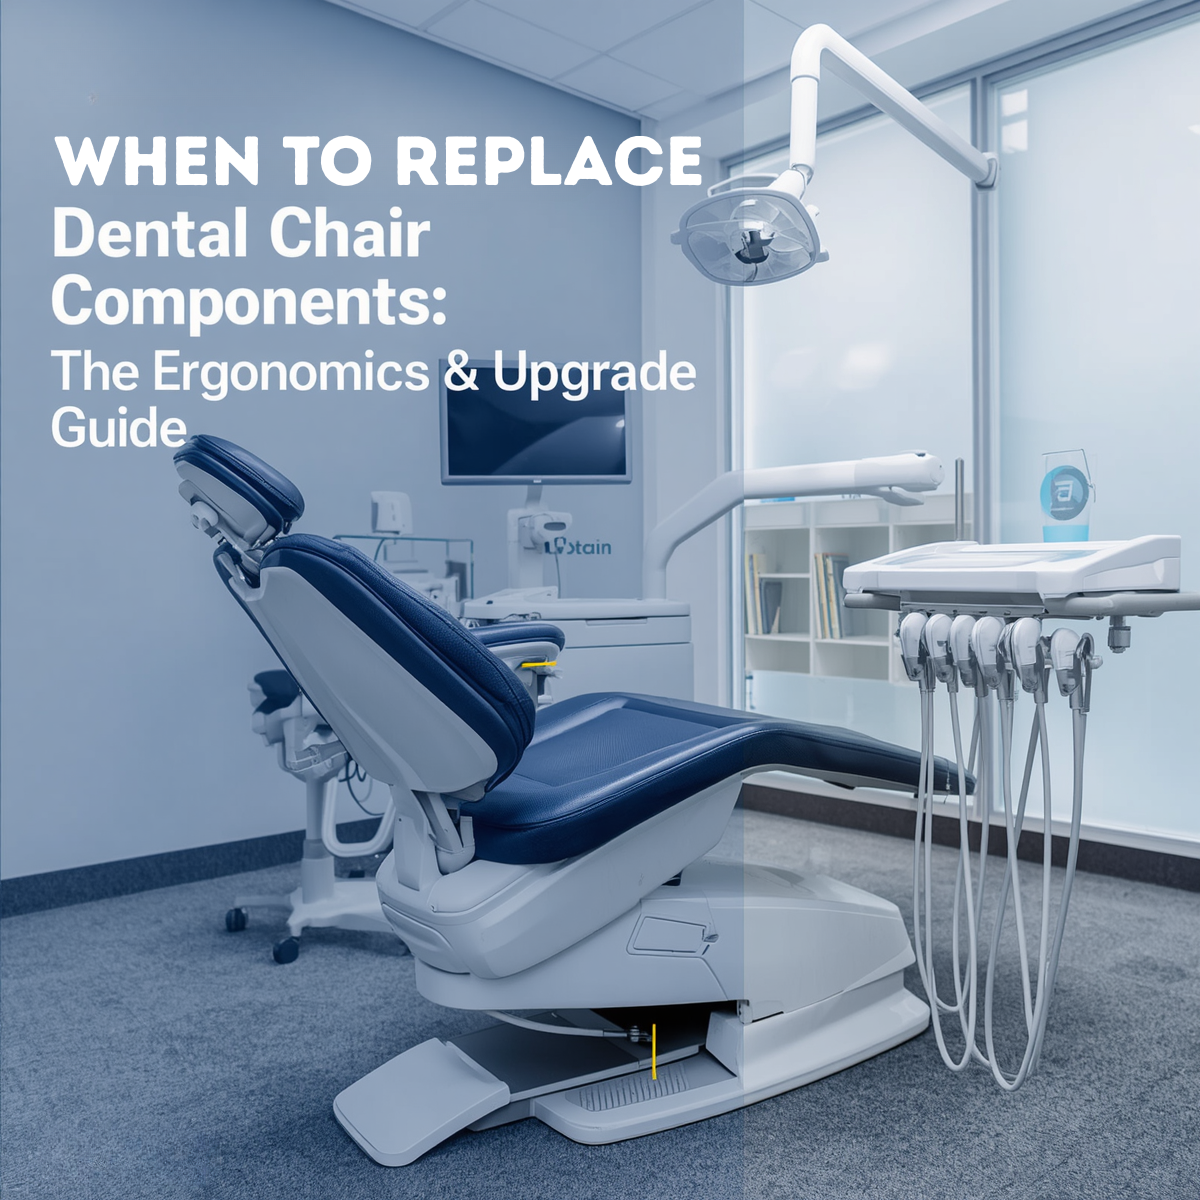
When to Replace Dental Chair Components: The Ergonomics & Upgrade Guide
Knowing when to replace dental chair components versus when to invest in a complete operatory upgrade can save both your physical health and your clinic’s capital budget. Dental professionals spend thousands of hours a year leaned over patients, making physical comfort a direct driver of career longevity. If you find yourself leaving the clinic each day with persistent neck, shoulder, or lower back pain, discovering actionable ways to address these physical warning signs will prevent serious injuries without draining your administrative resources. 3 Warning Signs Your Equipment Is Hurting Your Posture Ergonomic injuries rarely happen overnight; they accumulate through repetitive micro-movements caused by failing equipment. Watch out for these three red flags in your operatory: Sinking or Drifting Hydraulic Cylinders: If your doctor or assistant stool slowly loses height during a procedure, or if the patient chair drifts slightly after placement, you are constantly forcing your core muscles to compensate. Worn out or Compacted Foam Cushioning: Over years of use, the internal ergonomic foam in dental chairs loses its resilience. When cushioning compacts, it fails to support the patient’s lumbar or your own pelvic tilt, altering your line of sight and forcing you to slouch. Stiff, Unresponsive Articulation: If the chair’s double-articulating headrest or backrest hinges require physical force to adjust, clinicians often settle for a sub-optimal patient position, straining their neck and shoulders to compensate. The Financial Decision: Repair vs. Upgrade When facing equipment failures, you have to look at both the mechanical cost and the operational impact. Use this breakdown to determine the smartest financial route for your clinic. When It Makes Financial Sense to Repair / Part-Replace Don’t replace the whole chair if you don’t have to. You should focus specifically on identifying when to replace dental chair components individually if the core structural frame remains solid. If the mechanical lift mechanism, baseplate, and electronics are running flawlessly, buying individual parts is highly cost-effective. The fix is modular: Swapping out a dried-up armrest pad, replacing a hydraulic cylinder, or installing a new foot control valve takes minimal time and costs a fraction of a new system. You can update upholstery separately: If the chair works perfectly but looks dated or feels flat, ordering a pre-sewn replacement upholstery kit restores both the structural ergonomics and aesthetics without replacing the underlying machinery. When to Pivot to a Complete Operatory Upgrade Conversely, continuing to pour money into repairs is a losing strategy if the unit relies on obsolete parts. Sourcing rare engineering creates extensive downtime, and it makes more sense to transition to a new model rather than trying to figure out when to replace dental chair components that are no longer manufactured. Furthermore, older designs lack ultra-thin backrests found on modern systems. If a chair’s bulky design prevents you from tucking your knees completely under the patient, no component replacement will ever fix your posture. Component Replacement vs. Upgrade Checklist Scenario / Issue Smartest Financial Path Why? Cracked vinyl or compressed lumbar foam Replace Components / Upholstery Restores ergonomics and cosmetic appearance at a fraction of the cost. Slow fluid leaks or failing lift cylinder Mechanical Component Repair Simple hydraulic swaps extend the lift’s life by 5–10 years. Frequent circuit board blowouts on old units Complete Operatory Upgrade Sourcing rare electronics causes chronic downtime and high labor fees. Thick backrest preventing close clinical access Complete Operatory Upgrade It is a structural design flaw that permanently compromises operator ergonomics. Finding the Ergonomic Sweet Spot Protecting your body from career-ending musculoskeletal disorders requires a proactive approach to your operatory setup. By evaluating the structural integrity of your equipment and knowing precisely when to replace dental chair components, you can prolong the lifespan of your heavy assets while running a lean administrative budget. Keep your workspace highly responsive, address mechanical issues the moment they interfere with your posture, and budget for full upgrades only when old engineering stands in the way of proper clinical mechanics.
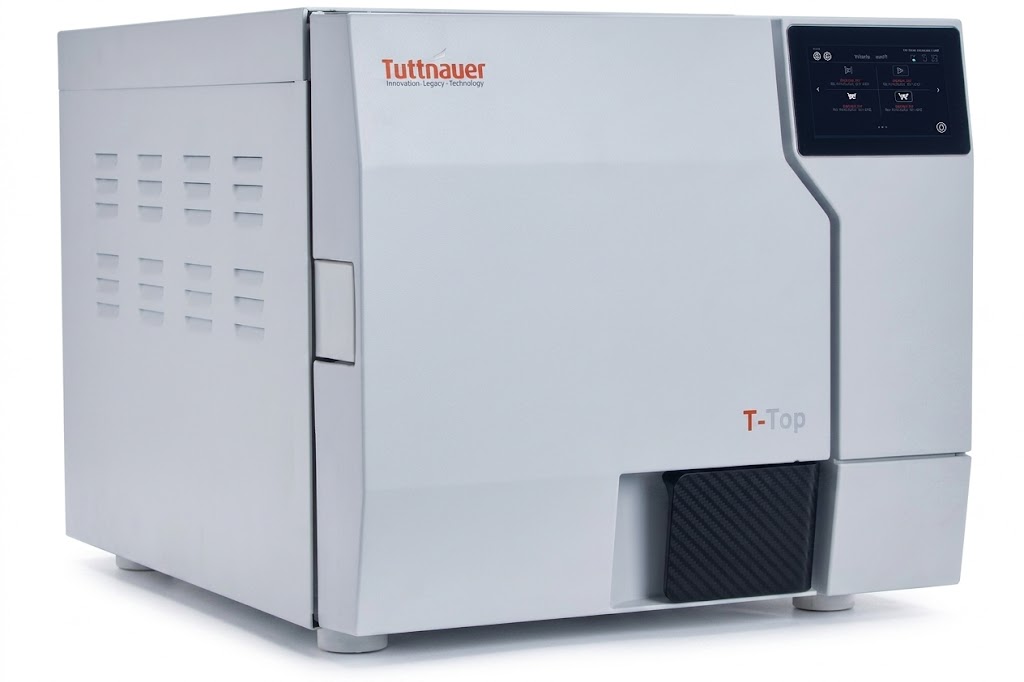
The Compliance Guide: Navigating Sterilization Standards and Diagnosing Autoclave Failures
Dental Autoclave Troubleshooting Guide: Navigating Compliance & Care In a dental clinic, instrument sterilization isn’t just a regulatory checkbox—it is the backbone of clinical safety and infection control. If your sterilizer unexpectedly throws an error code right in the middle of a busy afternoon, having a dependable dental autoclave troubleshooting guide on hand is essential to minimize practice downtime. Understanding how to navigate sterilization standards and quickly pinpointing mechanical issues ensures your clinic operates smoothly and remains completely compliant. Understanding Sterilization Compliance Standards To effectively troubleshoot your autoclave, you first need to understand what parameters define a successful sterilization cycle. Regulatory bodies demand precise monitoring of three critical variables: Temperature: The internal chamber must reach and maintain the exact temperature required to destroy microbial life (typically 121°C or 134°C, depending on the cycle type). Pressure: Steam must be pressurized to ensure it penetrates instrument packaging effectively. Time: The critical temperature and pressure must be sustained continuously for a designated exposure period. Compliance requires verifying these parameters through a combination of physical, chemical (e.g., indicator strips), and biological indicators (spore testing). When any of these elements drop below baseline thresholds, your autoclave will abort the cycle and display a failure code. Dental Autoclave Troubleshooting Guide: Common Failures When a cycle fails, the root cause usually boils down to a few common culprits. Before calling an expensive field technician, walk through these troubleshooting steps to diagnose the issue. 1. The Cycle Aborted Due to “Low Temperature” or Heating Failure If your autoclave is struggling to reach the required temperature, it is often a water or structural issue. Check the water quality: Ensure the reservoir is filled with fresh, high-quality distilled water. Tap water or contaminated water leaves mineral deposits on the heating elements, severely reducing heating efficiency. Overloading the chamber: Packing too many instrument cassettes or pouches into a single load prevents steam from circulating evenly, creating cold pockets. Always leave adequate space between items. 2. Steam Leaks and Pressure Drops If you hear a persistent hissing sound or if the unit fails to build up pressure, you are likely dealing with a seal failure. Inspect the door gasket: Over time, the rubber door gasket dries out, cracks, or collects debris. Wipe the gasket down weekly with a damp, lint-free cloth. If you see visible cracks or flattening, replace the gasket immediately. Examine the ring plug: Ensure the small rubber ring plugs or safety valves are seated tightly and aren’t brittle. 3. Wet Packs at the End of a Cycle Finding moisture on or inside instrument pouches after a completed cycle is a major compliance violation, as wet packaging can draw in airborne contaminants. Verify the dry cycle: Ensure the full dry cycle was allowed to complete without interruption. Check the chamber filter: A clogged chamber drain filter prevents moisture from escaping efficiently during the exhaust phase. Clean or replace the filter according to your manufacturer’s schedule. Quick Reference Diagnostic Table Use this reference overview alongside your daily dental autoclave troubleshooting guide routines to quickly flag operational errors before they disrupt your schedule. Symptom / Error Potential Root Cause Immediate Troubleshooting Action Hissing sound from door Dirty, worn, or misaligned door gasket. Clean the gasket surface; replace if cracked or warped. “Low Water” error code Insufficient water or high mineral buildup. Refill with pure distilled water; clean reservoir sensors. Instruments remain wet Interrupted dry cycle or clogged drain filter. Clear the chamber drain filter and rerun the dry cycle completely. Failed spore / chemical test Overloaded chamber or faulty heating element. Reduce load size and ensure proper spacing; check heating elements. Maintaining Your Autoclave for Total Compliance Following a reliable dental autoclave troubleshooting guide is excellent for emergencies, but routine preventive maintenance is the absolute best way to avoid using one in the first place. Establish a strict cleaning routine: Daily: Wipe down the door gasket and internal chamber surfaces. Weekly: Run a dedicated chamber cleaning cycle using manufacturer-approved cleaner, and clean the internal drain strainer. Monthly: Inspect the overall integrity of the safety valves and gaskets. By pairing rigorous compliance standards with basic troubleshooting knowledge, you can catch minor mechanical hiccups before they escalate into catastrophic equipment failures.