

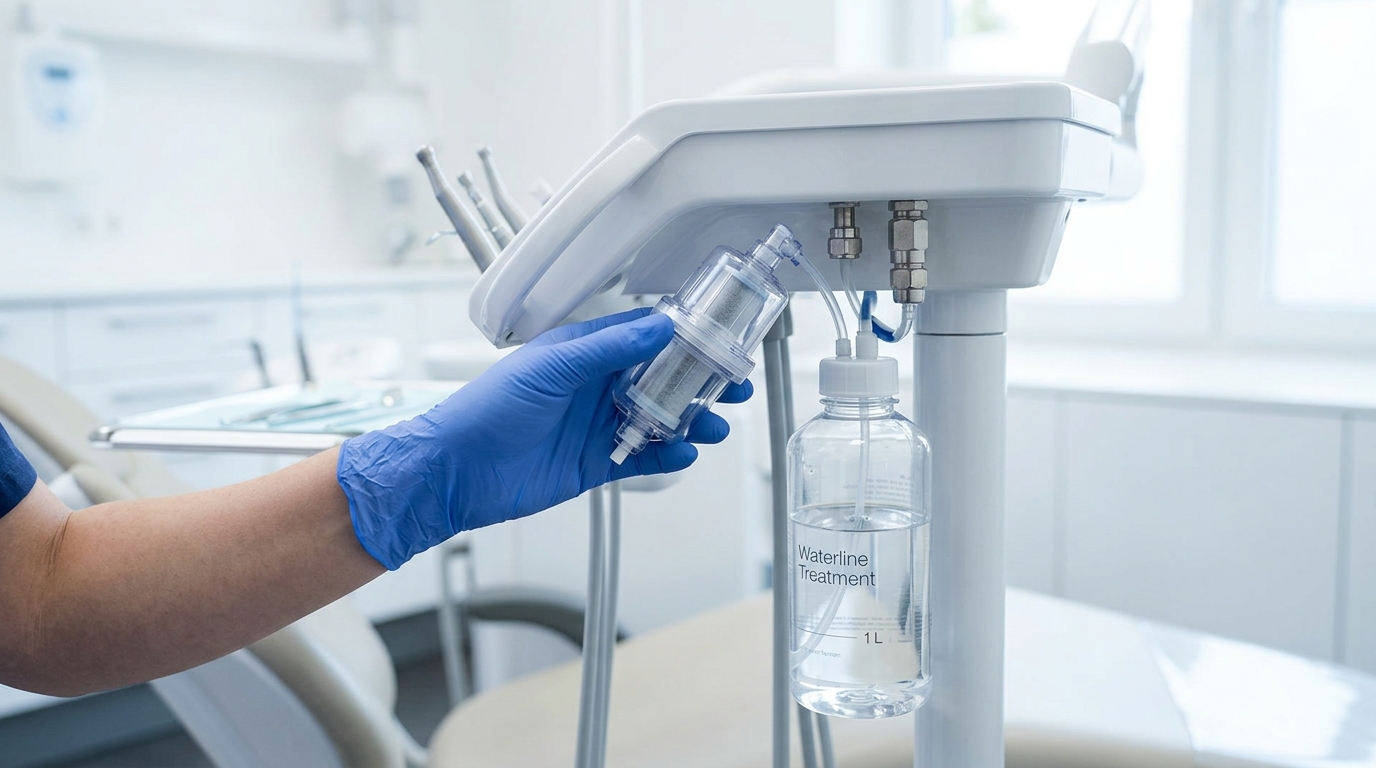
Meeting Compliance: The Complete Dental Unit Waterline Maintenance Checklist Maintaining clean dental unit waterlines (DUWLs) is no longer just a best practice—it is a strict regulatory necessity. Because dental lines are narrow, flexible, and subject to stagnant water conditions overnight, they are the perfect breeding ground for microscopic biofilms. If left unmanaged, these biofilms can shed bacteria directly into your patient delivery systems, failing safety inspections and putting vulnerable patients at risk. At Michigan Dental Chair Repair & Wholesale, we don’t just fix the structural mechanics of your chair; we help you protect the vital infrastructure running through it. Based on current safety guidelines, here is your straightforward, step-by-step clinic checklist to ensure your water lines stay completely clear, compliant, and safe. 1. The Daily Protocol: Purging the Lines Biofilm thrives when water sits completely still. A simple daily purging routine drastically reduces structural bacteria buildup. 2. The Weekly Protocol: Treatment & Shocking Flushing alone will not strip away an established, sticky biofilm matrix. You need active chemical treatment. 3. The Quarterly Protocol: Independent Testing You cannot manage what you do not measure. The only way to prove compliance to inspectors is through documented testing. Protecting Your Valves and Solenoids An overlooked benefit of clean waterlines is equipment longevity. When thick biofilm or mineral scaling builds up in your lines, it breaks loose and migrates down the system, jamming the tiny, precision copper solenoid valves and water relays inside your chair’s delivery head. Maintaining clean lines saves your clinic from both compliance headaches and expensive plumbing repair bills. Looking to optimize your utility layout or need wholesale maintenance supplies? The team at Michigan Dental Chair Repair & Wholesale has been keeping Waterford Township practices running safely since 1968. Browse our full online inventory of replacement valves, tubing, and maintenance parts at dentalchairrepair.com, or call our technical line directly at 248-290-9910 for field service support!
Case Study: Restoring a Classic Dental Chair to Showroom Quality (Without the New Chair Price Tag)
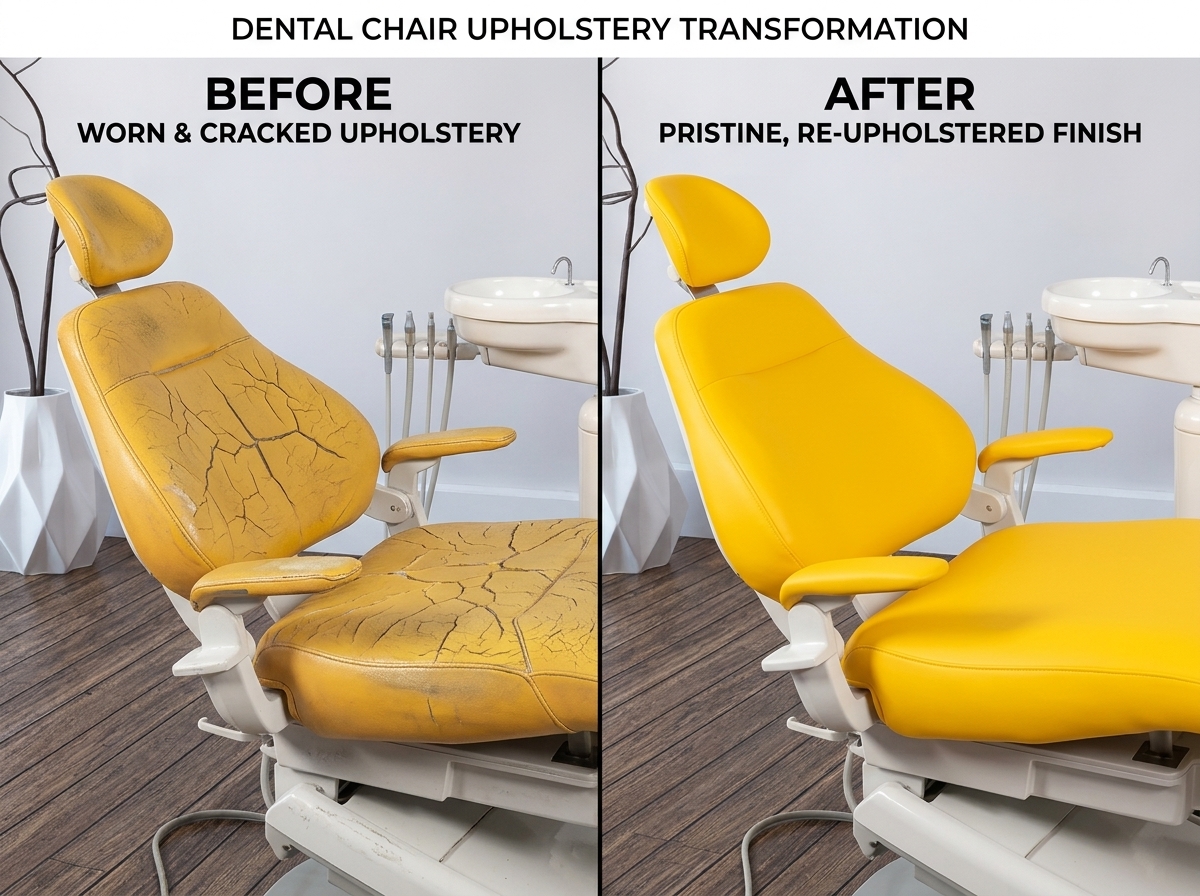
Case Study: Restoring a Classic Dental Chair to Showroom Quality (Without the New Chair Price Tag) When a premium dental chair begins to show its age, many practices assume their only option is to drop $10,000 to $15,000+ on a brand-new replacement unit. But in our decades of serving dental clinics, we have found that older, classic models often possess incredibly robust, heavy-duty mechanical skeletons that outperform newer, plastic-heavy models. Recently, a local clinic brought a worn-out, structurally sound patient chair into our Waterford Township workshop. It was mechanically functional but aesthetically failing, causing patients discomfort and dragging down the visual appeal of the operatory. Here is how we completely overhauled, re-upholstered, and restored this clinic workhorse to showroom condition for a fraction of the cost of buying new. The Challenge: A Mid-Life Crisis for a Clinic Workhorse The incoming chair had spent over a decade in a high-volume practice. While the hydraulic pump and structural base were still working smoothly, the chair was suffering from severe wear and tear that impacted patient perception: Our Restoration Process: Step-by-Step Step 1: Complete Teardown and Mechanical Inspection We don’t just put a new cover over old problems. Our technicians stripped the chair completely down to its bare metal frame. We thoroughly inspected the internal hydraulic cylinders, flushed the old fluid, checked the solenoid valves for micro-leaks, and lubricated all primary pivot points to ensure the chair operated silently. Step 2: Custom Ergonomic Re-Foaming To fix the sagging support, we stripped away the degraded factory foam. Our upholstery team hand-shaped brand new, high-density antimicrobial foam layers. We added built-in lumbar contours to maximize patient relaxation, transforming a stiff, uncomfortable seat into an ergonomic experience. Step 3: Premium Seamless Upholstery Upgrade The clinic opted for a premium, medical-grade vinyl engineered specifically to withstand modern surface disinfectants without cracking. We executed a seamless upholstery wrap in a modern charcoal gray, giving the chair a sleek, contemporary profile that instantly modernized their operatory layout. Step 4: Cosmetic Detailing and Refinishing Finally, we sanded down, primed, and color-matched the scuffed base castings and armrests with a durable, scratch-resistant industrial coating, removing every trace of its previous ten years of heavy use. The Results: Showroom Quality, Massively Reduced Capital Expense The transformation was night and day. The chair returned to the clinic looking, feeling, and operating exactly like a brand-new unit fresh off the factory floor. Metric Brand New Replacement Chair Our Complete Restoration Project Total Turnaround Time Weeks of manufacturing/shipping delay Handled swiftly to minimize clinic downtime Visual / Comfort Level Modern, premium aesthetic Identical modern aesthetic & brand new foam Financial Investment $10,000 – $15,000+ Saved thousands in clinic capital expenditure By investing in restoration rather than replacement, the practice saved thousands of dollars in capital expenditure—budget they were able to redirect toward upgrading their imaging technology. Is Your Reliable Chair Looking Tired? If you have a reliable dental chair that still has plenty of mechanical life left but is hurting your clinic’s image or patient comfort, a professional overhaul is the ultimate cost-effective solution. At Michigan Dental Chair Repair & Wholesale, we’ve been bringing equipment back to life since 1968. Visit dentalchairrepair.com to view more of our work, or call us directly at 248-290-9910 to get an accurate estimate on a custom upholstery or mechanical restoration project for your practice!
The “Dead” Dental Chair: 3 Quick Checks Before You Call a Technician
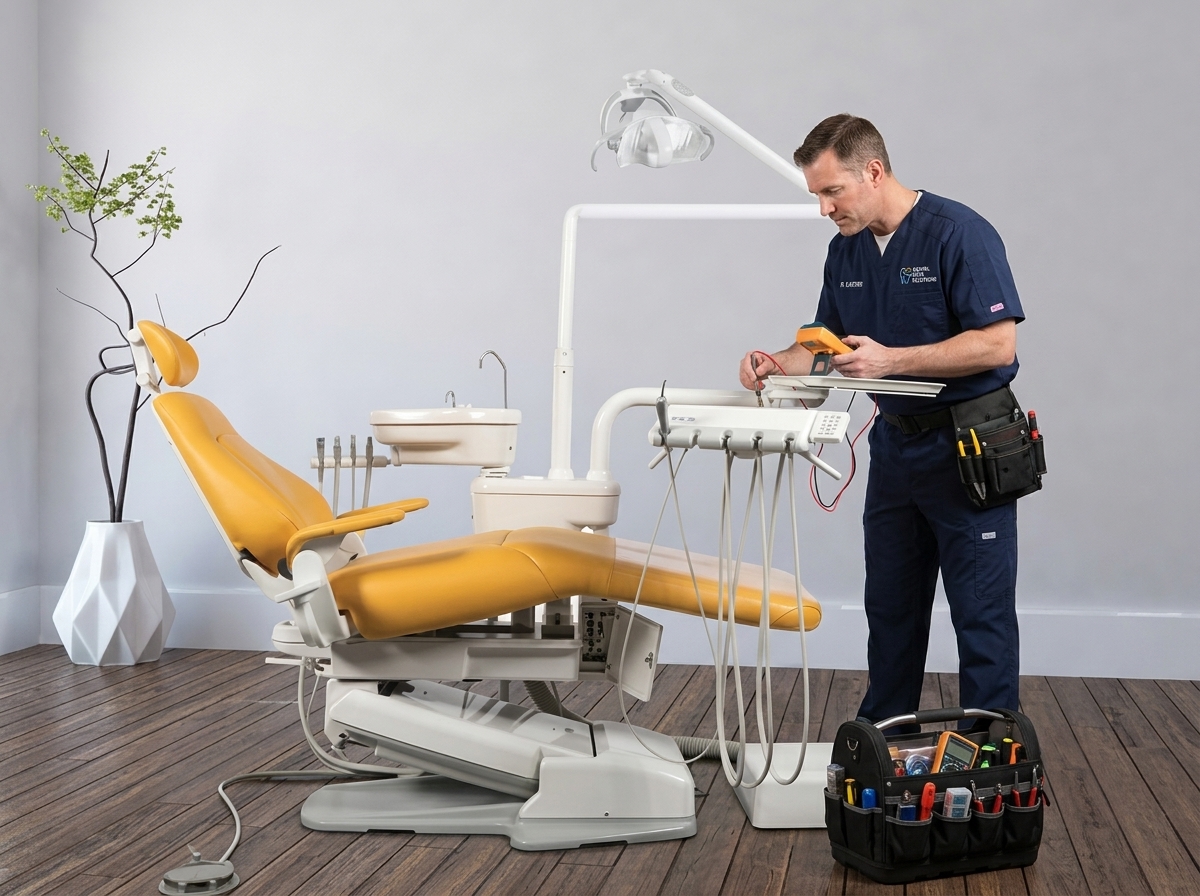
The “Dead” Dental Chair: 3 Quick Checks Before You Call a Technician Every dental office manager or practitioner knows the sinking feeling. You have a full schedule of patients waiting, your first appointment is settled in, you hit the foot pedal—and absolutely nothing happens. The chair is completely dead. Before you pick up the phone for an emergency service call-out (and face the resulting practice downtime), there is a distinct difference between a catastrophic component failure and a simple, fixable issue. Because we have been repairing, overhauling, and supplying wholesale dental parts since 1968, we’ve learned that a massive percentage of “dead chair” emergency calls can be solved in less than five minutes by checking three basic components. Here is your quick-fire diagnostic checklist to run through before you call a technician. Check 1: The Master Toggle Switch (and Hidden Cut-Offs) It sounds incredibly obvious, but you would be amazed at how often a chair is “restored to life” simply by flipping a switch. Check 2: The Main Infrastructure (Compressor & Power Strips) A dental chair relies on a delicate balance of electrical power and pneumatic (air) pressure to operate. If one of these utility lines fails at the source, the chair stays grounded. Check 3: The Internal Main Fuse If the wall outlet has power but the chair’s status lights are completely dark, a blown fuse is the absolute number one suspect. Fuses are intentionally designed to “die” to protect the expensive main circuit boards from electrical surges. Roson Dental When It’s Time to Call in the Experts If you have verified the power outlet, cleared the safety plates, checked the compressor pressure, and verified the fuse is intact—but the chair still won’t respond—you are likely dealing with a failed foot control cable, a damaged solenoid valve, or a malfunctioning main control board. Roson Dental Attempting to deep-dive into high-voltage wiring or complex hydraulic lines without proper training can void your manufacturer warranties or risk creating serious electrical hazards. Need a fast fix or looking for specific replacement wholesale parts? The team at Michigan Dental Chair Repair & Wholesale is here to keep your clinic operational. Browse our online parts inventory at dentalchairrepair.com, or reach out to our technical repair team directly at 248-290-9910 to schedule professional field service!
The Ultimate Preventive Maintenance Guide: How to Extend the Life of Your High-Speed Dental Handpieces
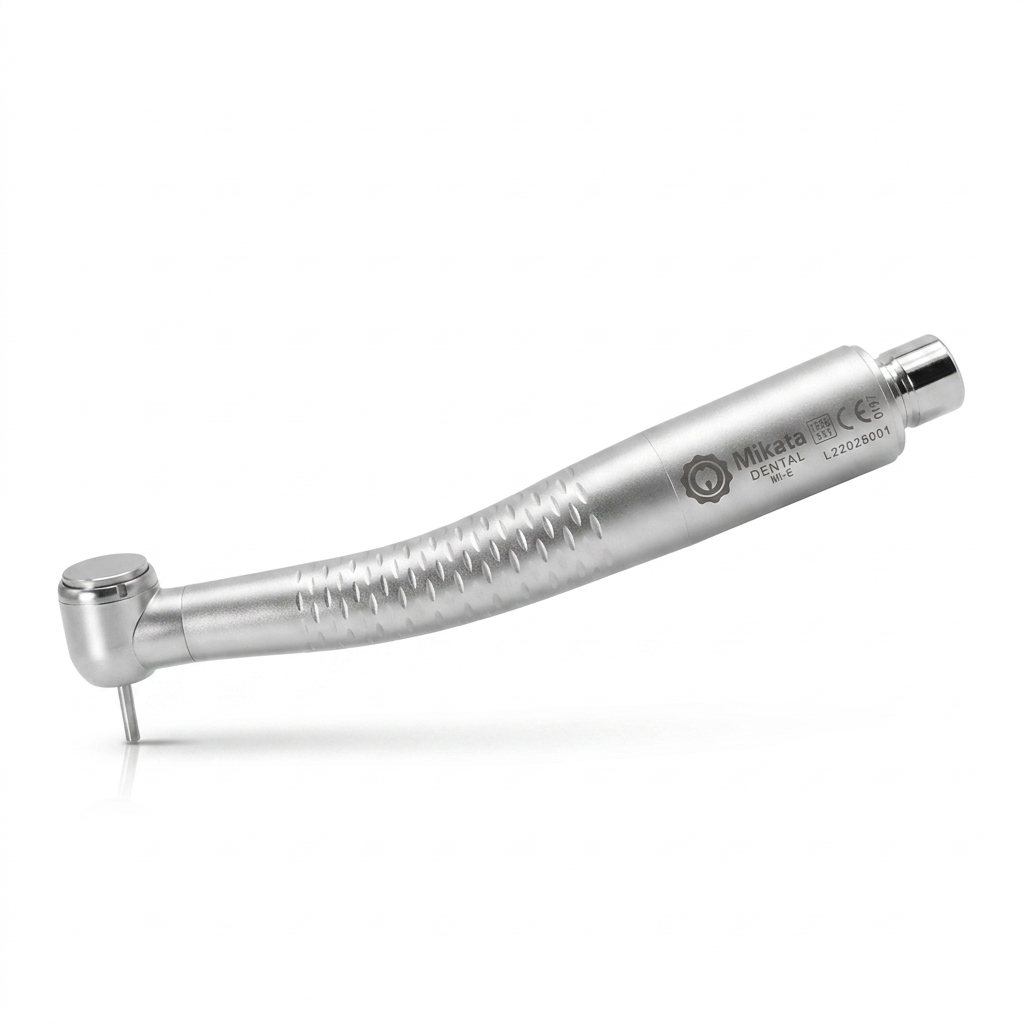
In a busy dental practice, your high-speed handpiece is the ultimate workhorse. If you want to avoid unexpected downtime and protect your clinic’s bottom line, mastering a proper dental handpiece maintenance checklist is absolutely essential. When a handpiece fails, it does more than just disrupt your schedule—it causes unexpected downtime, frustrates patients, and leads to costly emergency repairs or replacements. The good news? Most premature handpiece failures are entirely preventable. By implementing a consistent dental handpiece maintenance checklist, you can drastically extend the life of your turbines and bearings, keeping your operatory running like a well-oiled machine. Why High-Speed Handpieces Fail prematurely Before diving into the routine, it helps to understand the two main enemies of your handpiece’s internal components: debris build-up and improper lubrication. During use, a handpiece acts like a miniature vacuum, drawing bio-burden, tooth dust, and moisture into the internal housing. If this debris isn’t regularly cleared out, it bakes onto the bearings during the autoclaving process. Combine that with under-lubrication (which causes friction) or over-lubrication (which clogs the air lines), and you have a recipe for turbine failure. The Daily Dental Handpiece Maintenance Checklist: 3 Critical Tips for Perfect Care To protect your investment, ensure your clinical team follows these step-by-step instructions after every single patient use. 1. Wipe Down and Purge Remove the bur: Always remove the diamond or carbide bur before cleaning. Clean the exterior: Wipe the outside of the handpiece with a damp paper towel or a soft brush under running water to remove gross debris. Important: Avoid submerging the handpiece in water or using harsh chemical disinfectants, as these can corrode the internal metals and break down seals. Purge the lines: Attach the handpiece to the tubing and run air and water through it for 20–30 seconds to flush out any retracted fluids from the internal lines. 2. Lubrication (The Critical Step) Choose the right adapter: Use the correct nozzle attachment for your specific handpiece brand (e.g., Midwest 4-hole, KaVo, NSK). Spray the drive air line: Inject the manufacturer-recommended lubricant into the drive air tube (the smaller of the two large tubes on a standard 4-hole connection) for 1–2 seconds. Expel excess oil: Reattach the handpiece to the dental unit and run it for 10–15 seconds before autoclaving. This distributes the oil evenly across the bearings and expels any excess fluid so it doesn’t bake into the turbine during sterilization. 3. Sterilization Bag it properly: Place the clean, lubricated handpiece into a sterilization pouch. Follow parameters: Autoclave the handpiece according to the manufacturer’s exact temperature and time recommendations. Dry completely: Never skip the dry cycle. Leaving moisture inside the handpiece can lead to rust and premature bearing failure. Pro-Tips for Long-Term Maintenance Beyond your daily dental handpiece maintenance checklist, keeping an eye on these technical variables will ensure ultimate equipment longevity: Check Your Air Pressure: Running your dental unit at a higher PSI than recommended might make the handpiece feel more powerful, but it puts immense stress on the bearings, causing them to wear out exponentially faster. Stick to the manufacturer’s specified PSI (usually between 30 and 42 PSI). Inspect the Chuck Mechanism: Once a week, test the chuck. Debris can build up inside the push-button mechanism, leading to a loose grip on burs, which is a major safety hazard. Clean the chuck weekly with a dedicated chuck cleaner or brush. Invest in an Automatic Maintenance System: If your clinic handles a high volume of patients, consider upgrading to an automated handpiece cleaning and lubrication station. These systems eliminate human error by delivering the exact amount of oil required and thoroughly purging the internal components every time. Conclusion: Consistency Saves Capital While a routine dental handpiece maintenance checklist might seem like a chore when you’re rushing between appointments, dedicating just two minutes to proper care after each use will save your practice thousands of dollars in turbine replacements and lost production time. Print out the checklist below, laminate it, and keep it right by your sterilization station to ensure your team never misses a step. 📋 Downloadable Dental Handpiece Maintenance Checklist Step Action Item Checked 1 Remove the bur and flush internal water/air lines for 20 seconds. ☐ 2 Clean exterior with running water (do not submerge or use chemical wipes). ☐ 3 Apply 1-2 sprays of quality lubricant into the drive air port using the correct adapter. ☐ 4 Run the handpiece for 15 seconds to distribute oil and purge excess fluid. ☐ 5 Clean the chuck mechanism (weekly or if bur slippage occurs). ☐ 6 Bag the handpiece and run a full autoclave cycle, including the complete dry cycle. ☐