

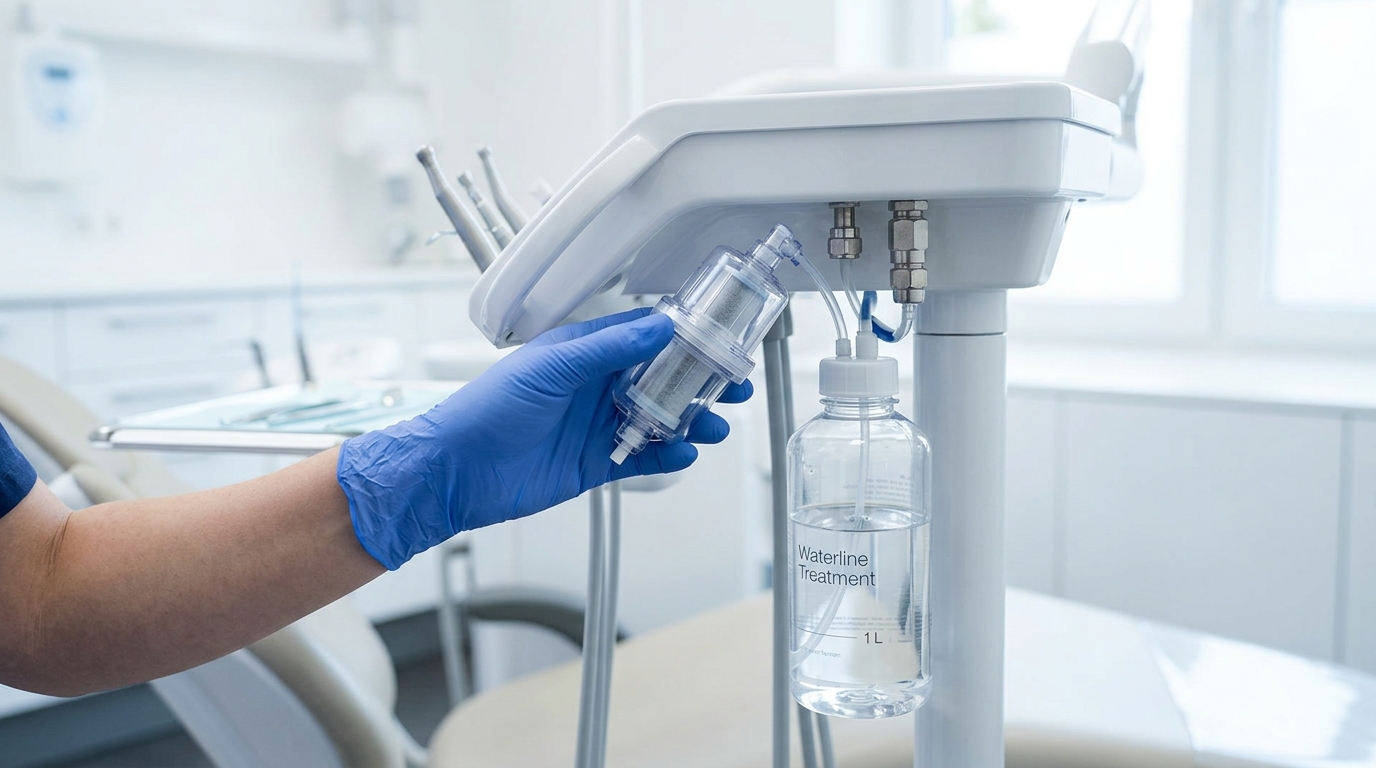
Meeting Compliance: The Complete Dental Unit Waterline Maintenance Checklist Maintaining clean dental unit waterlines (DUWLs) is no longer just a best practice—it is a strict regulatory necessity. Because dental lines are narrow, flexible, and subject to stagnant water conditions overnight, they are the perfect breeding ground for microscopic biofilms. If left unmanaged, these biofilms can shed bacteria directly into your patient delivery systems, failing safety inspections and putting vulnerable patients at risk. At Michigan Dental Chair Repair & Wholesale, we don’t just fix the structural mechanics of your chair; we help you protect the vital infrastructure running through it. Based on current safety guidelines, here is your straightforward, step-by-step clinic checklist to ensure your water lines stay completely clear, compliant, and safe. 1. The Daily Protocol: Purging the Lines Biofilm thrives when water sits completely still. A simple daily purging routine drastically reduces structural bacteria buildup. 2. The Weekly Protocol: Treatment & Shocking Flushing alone will not strip away an established, sticky biofilm matrix. You need active chemical treatment. 3. The Quarterly Protocol: Independent Testing You cannot manage what you do not measure. The only way to prove compliance to inspectors is through documented testing. Protecting Your Valves and Solenoids An overlooked benefit of clean waterlines is equipment longevity. When thick biofilm or mineral scaling builds up in your lines, it breaks loose and migrates down the system, jamming the tiny, precision copper solenoid valves and water relays inside your chair’s delivery head. Maintaining clean lines saves your clinic from both compliance headaches and expensive plumbing repair bills. Looking to optimize your utility layout or need wholesale maintenance supplies? The team at Michigan Dental Chair Repair & Wholesale has been keeping Waterford Township practices running safely since 1968. Browse our full online inventory of replacement valves, tubing, and maintenance parts at dentalchairrepair.com, or call our technical line directly at 248-290-9910 for field service support!
Dental Equipment Parts Compatibility Guide Matching OEM & Aftermarket
This dental equipment parts compatibility guide helps you find affordable, reliable replacement components for top major brands without compromising on fit, safety, or clinical performance. In a busy clinical environment, equipment downtime directly translates to lost revenue and disrupted patient schedules. When a delivery unit, utility system, or operatory light malfunctions, procuring the right fix shouldn’t feel like a guessing game. While ordering original equipment manufacturer (OEM) components is straightforward, navigating secondary market alternatives with technical precision can save you thousands in unnecessary overhead. OEM vs. Aftermarket: Understanding the Landscape Before mixing components within your operatory infrastructure, it is critical to understand the distinction between your sourcing options: OEM (Original Equipment Manufacturer): These are branded pieces built directly by companies like A-dec, Midmark, or Pelton & Crane. They are identical to the assets originally installed in your clinic. Aftermarket Components: Fabricated by specialized secondary manufacturers, these alternatives are designed to mirror the exact fit, thread pitch, and voltage specifications of original infrastructure at a lower cost. Cross-Compatible Hardware: Standardized industrial parts (such as specific pneumatic tubing, O-rings, and quick-disconnect fittings) that are universally utilized across multiple major dental brands. Technical Matching Rules for Core Equipment Categories To safely integrate non-OEM parts into your clinic, referencing a comprehensive dental equipment parts compatibility guide allows your administrative and maintenance teams to cross-reference three key engineering metrics before making a purchase. 1. Pneumatic & Hydraulic Fittings Dental delivery systems rely on intricate networks of pressurized lines. When sourcing replacement foot controls, blocks, or syringes, look beyond the brand name. Verify the thread standard—most North American systems utilize standard imperial threads (like 10-32 threads), whereas European imports often require metric configurations. 2. Electrical Specifications & Solenoids Solenoid valves control the flow of air and water to your handpieces. When substituting an aftermarket solenoid into a major delivery unit, always match the voltage (commonly 12V DC, 24V AC, or 24V DC) and wattage ratings. Installing an incorrect voltage component will instantly short out circuit boards or fail to open under pressure. 3. Mechanical Footprints & Handpiece Tubing Handpiece tubing is highly standardized based on ISO layouts (such as Midwest 4-hole or Borden 2-hole patterns). However, the internal configurations of the administrative control blocks they attach to vary. Ensure aftermarket tubing bundles specify compatibility with your exact model’s internal housing jacket. Major Brand Compatibility Blueprint When mixing and matching across manufacturers, utilizing a standardized dental equipment parts compatibility guide helps protect your equipment’s structural integrity. Use the baseline matrix below for common setups: System Category Major OEM Brands Safe Aftermarket Sourcing Criteria Delivery Units & Blocks A-dec, Pelton & Crane, Marus Match barbs and 10-32 thread dimensions; verify polyurethane line diameters. Autoclaves & Sterilizers Midmark (M9/M11), Tuttnauer Match door gasket profiles and cross-reference heating element wattages perfectly. Vacuum & Air Systems Ramvac, Air Techniques Utilize identical micron ratings for intake filters; check manifold port threading. Eliminating the Part Number Confusion The secret weapon of efficient clinic procurement is maintaining a comprehensive master cross-reference sheet. Whenever an internal component is successfully replaced, document the OEM part number alongside the verified aftermarket substitute. By leveraging this dental equipment parts compatibility guide, your group practice can drastically reduce dependency on sole-source distributors, lower your structural overhead, and establish a highly resilient supply chain that keeps your operatory rooms running flawlessly.
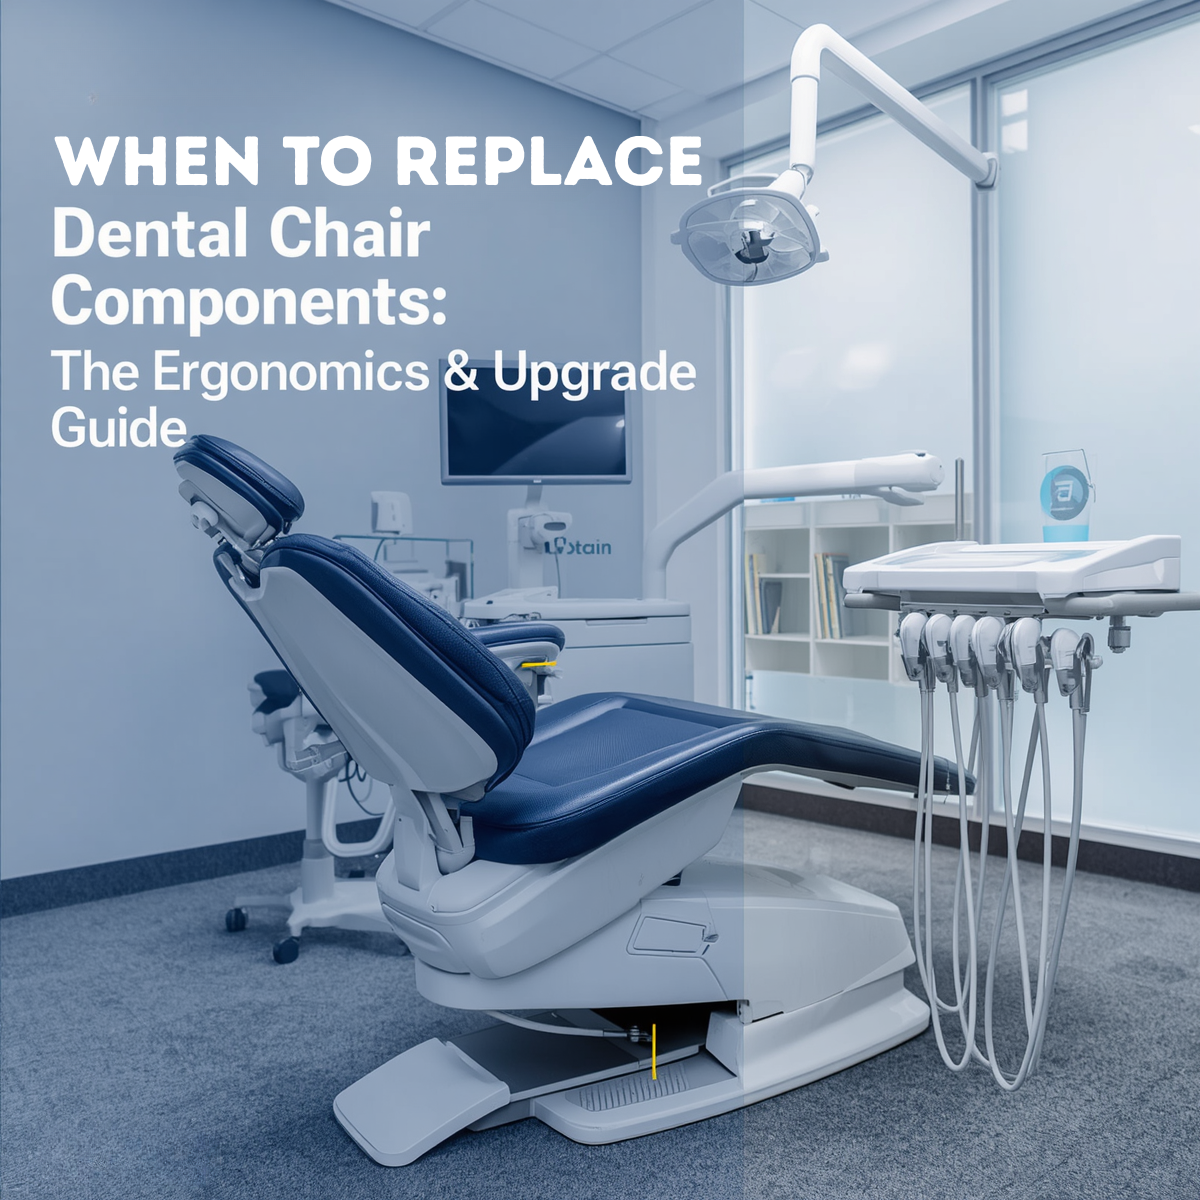
When to Replace Dental Chair Components: The Ergonomics & Upgrade Guide
Knowing when to replace dental chair components versus when to invest in a complete operatory upgrade can save both your physical health and your clinic’s capital budget. Dental professionals spend thousands of hours a year leaned over patients, making physical comfort a direct driver of career longevity. If you find yourself leaving the clinic each day with persistent neck, shoulder, or lower back pain, discovering actionable ways to address these physical warning signs will prevent serious injuries without draining your administrative resources. 3 Warning Signs Your Equipment Is Hurting Your Posture Ergonomic injuries rarely happen overnight; they accumulate through repetitive micro-movements caused by failing equipment. Watch out for these three red flags in your operatory: Sinking or Drifting Hydraulic Cylinders: If your doctor or assistant stool slowly loses height during a procedure, or if the patient chair drifts slightly after placement, you are constantly forcing your core muscles to compensate. Worn out or Compacted Foam Cushioning: Over years of use, the internal ergonomic foam in dental chairs loses its resilience. When cushioning compacts, it fails to support the patient’s lumbar or your own pelvic tilt, altering your line of sight and forcing you to slouch. Stiff, Unresponsive Articulation: If the chair’s double-articulating headrest or backrest hinges require physical force to adjust, clinicians often settle for a sub-optimal patient position, straining their neck and shoulders to compensate. The Financial Decision: Repair vs. Upgrade When facing equipment failures, you have to look at both the mechanical cost and the operational impact. Use this breakdown to determine the smartest financial route for your clinic. When It Makes Financial Sense to Repair / Part-Replace Don’t replace the whole chair if you don’t have to. You should focus specifically on identifying when to replace dental chair components individually if the core structural frame remains solid. If the mechanical lift mechanism, baseplate, and electronics are running flawlessly, buying individual parts is highly cost-effective. The fix is modular: Swapping out a dried-up armrest pad, replacing a hydraulic cylinder, or installing a new foot control valve takes minimal time and costs a fraction of a new system. You can update upholstery separately: If the chair works perfectly but looks dated or feels flat, ordering a pre-sewn replacement upholstery kit restores both the structural ergonomics and aesthetics without replacing the underlying machinery. When to Pivot to a Complete Operatory Upgrade Conversely, continuing to pour money into repairs is a losing strategy if the unit relies on obsolete parts. Sourcing rare engineering creates extensive downtime, and it makes more sense to transition to a new model rather than trying to figure out when to replace dental chair components that are no longer manufactured. Furthermore, older designs lack ultra-thin backrests found on modern systems. If a chair’s bulky design prevents you from tucking your knees completely under the patient, no component replacement will ever fix your posture. Component Replacement vs. Upgrade Checklist Scenario / Issue Smartest Financial Path Why? Cracked vinyl or compressed lumbar foam Replace Components / Upholstery Restores ergonomics and cosmetic appearance at a fraction of the cost. Slow fluid leaks or failing lift cylinder Mechanical Component Repair Simple hydraulic swaps extend the lift’s life by 5–10 years. Frequent circuit board blowouts on old units Complete Operatory Upgrade Sourcing rare electronics causes chronic downtime and high labor fees. Thick backrest preventing close clinical access Complete Operatory Upgrade It is a structural design flaw that permanently compromises operator ergonomics. Finding the Ergonomic Sweet Spot Protecting your body from career-ending musculoskeletal disorders requires a proactive approach to your operatory setup. By evaluating the structural integrity of your equipment and knowing precisely when to replace dental chair components, you can prolong the lifespan of your heavy assets while running a lean administrative budget. Keep your workspace highly responsive, address mechanical issues the moment they interfere with your posture, and budget for full upgrades only when old engineering stands in the way of proper clinical mechanics.
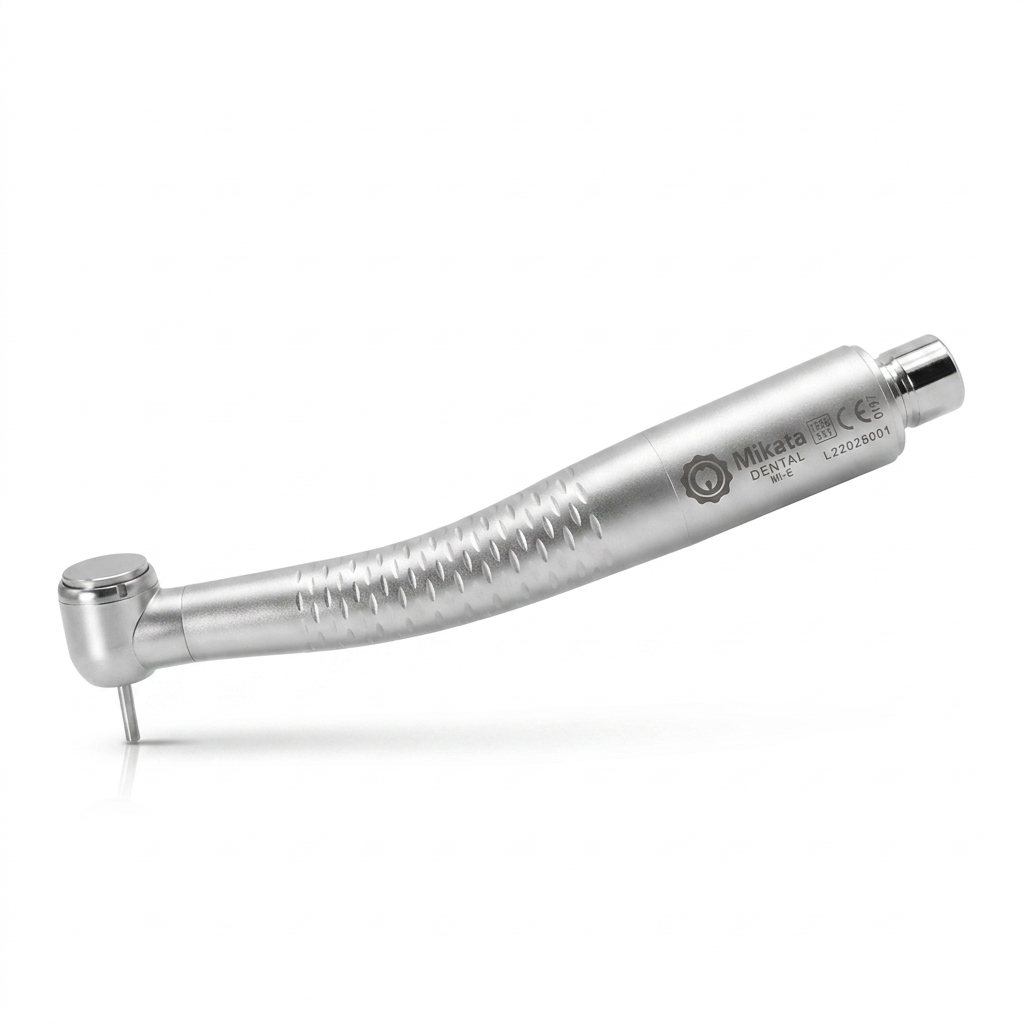
The Ultimate Preventive Maintenance Guide: How to Extend the Life of Your High-Speed Dental Handpieces
In a busy dental practice, your high-speed handpiece is the ultimate workhorse. If you want to avoid unexpected downtime and protect your clinic’s bottom line, mastering a proper dental handpiece maintenance checklist is absolutely essential. When a handpiece fails, it does more than just disrupt your schedule—it causes unexpected downtime, frustrates patients, and leads to costly emergency repairs or replacements. The good news? Most premature handpiece failures are entirely preventable. By implementing a consistent dental handpiece maintenance checklist, you can drastically extend the life of your turbines and bearings, keeping your operatory running like a well-oiled machine. Why High-Speed Handpieces Fail prematurely Before diving into the routine, it helps to understand the two main enemies of your handpiece’s internal components: debris build-up and improper lubrication. During use, a handpiece acts like a miniature vacuum, drawing bio-burden, tooth dust, and moisture into the internal housing. If this debris isn’t regularly cleared out, it bakes onto the bearings during the autoclaving process. Combine that with under-lubrication (which causes friction) or over-lubrication (which clogs the air lines), and you have a recipe for turbine failure. The Daily Dental Handpiece Maintenance Checklist: 3 Critical Tips for Perfect Care To protect your investment, ensure your clinical team follows these step-by-step instructions after every single patient use. 1. Wipe Down and Purge Remove the bur: Always remove the diamond or carbide bur before cleaning. Clean the exterior: Wipe the outside of the handpiece with a damp paper towel or a soft brush under running water to remove gross debris. Important: Avoid submerging the handpiece in water or using harsh chemical disinfectants, as these can corrode the internal metals and break down seals. Purge the lines: Attach the handpiece to the tubing and run air and water through it for 20–30 seconds to flush out any retracted fluids from the internal lines. 2. Lubrication (The Critical Step) Choose the right adapter: Use the correct nozzle attachment for your specific handpiece brand (e.g., Midwest 4-hole, KaVo, NSK). Spray the drive air line: Inject the manufacturer-recommended lubricant into the drive air tube (the smaller of the two large tubes on a standard 4-hole connection) for 1–2 seconds. Expel excess oil: Reattach the handpiece to the dental unit and run it for 10–15 seconds before autoclaving. This distributes the oil evenly across the bearings and expels any excess fluid so it doesn’t bake into the turbine during sterilization. 3. Sterilization Bag it properly: Place the clean, lubricated handpiece into a sterilization pouch. Follow parameters: Autoclave the handpiece according to the manufacturer’s exact temperature and time recommendations. Dry completely: Never skip the dry cycle. Leaving moisture inside the handpiece can lead to rust and premature bearing failure. Pro-Tips for Long-Term Maintenance Beyond your daily dental handpiece maintenance checklist, keeping an eye on these technical variables will ensure ultimate equipment longevity: Check Your Air Pressure: Running your dental unit at a higher PSI than recommended might make the handpiece feel more powerful, but it puts immense stress on the bearings, causing them to wear out exponentially faster. Stick to the manufacturer’s specified PSI (usually between 30 and 42 PSI). Inspect the Chuck Mechanism: Once a week, test the chuck. Debris can build up inside the push-button mechanism, leading to a loose grip on burs, which is a major safety hazard. Clean the chuck weekly with a dedicated chuck cleaner or brush. Invest in an Automatic Maintenance System: If your clinic handles a high volume of patients, consider upgrading to an automated handpiece cleaning and lubrication station. These systems eliminate human error by delivering the exact amount of oil required and thoroughly purging the internal components every time. Conclusion: Consistency Saves Capital While a routine dental handpiece maintenance checklist might seem like a chore when you’re rushing between appointments, dedicating just two minutes to proper care after each use will save your practice thousands of dollars in turbine replacements and lost production time. Print out the checklist below, laminate it, and keep it right by your sterilization station to ensure your team never misses a step. 📋 Downloadable Dental Handpiece Maintenance Checklist Step Action Item Checked 1 Remove the bur and flush internal water/air lines for 20 seconds. ☐ 2 Clean exterior with running water (do not submerge or use chemical wipes). ☐ 3 Apply 1-2 sprays of quality lubricant into the drive air port using the correct adapter. ☐ 4 Run the handpiece for 15 seconds to distribute oil and purge excess fluid. ☐ 5 Clean the chuck mechanism (weekly or if bur slippage occurs). ☐ 6 Bag the handpiece and run a full autoclave cycle, including the complete dry cycle. ☐