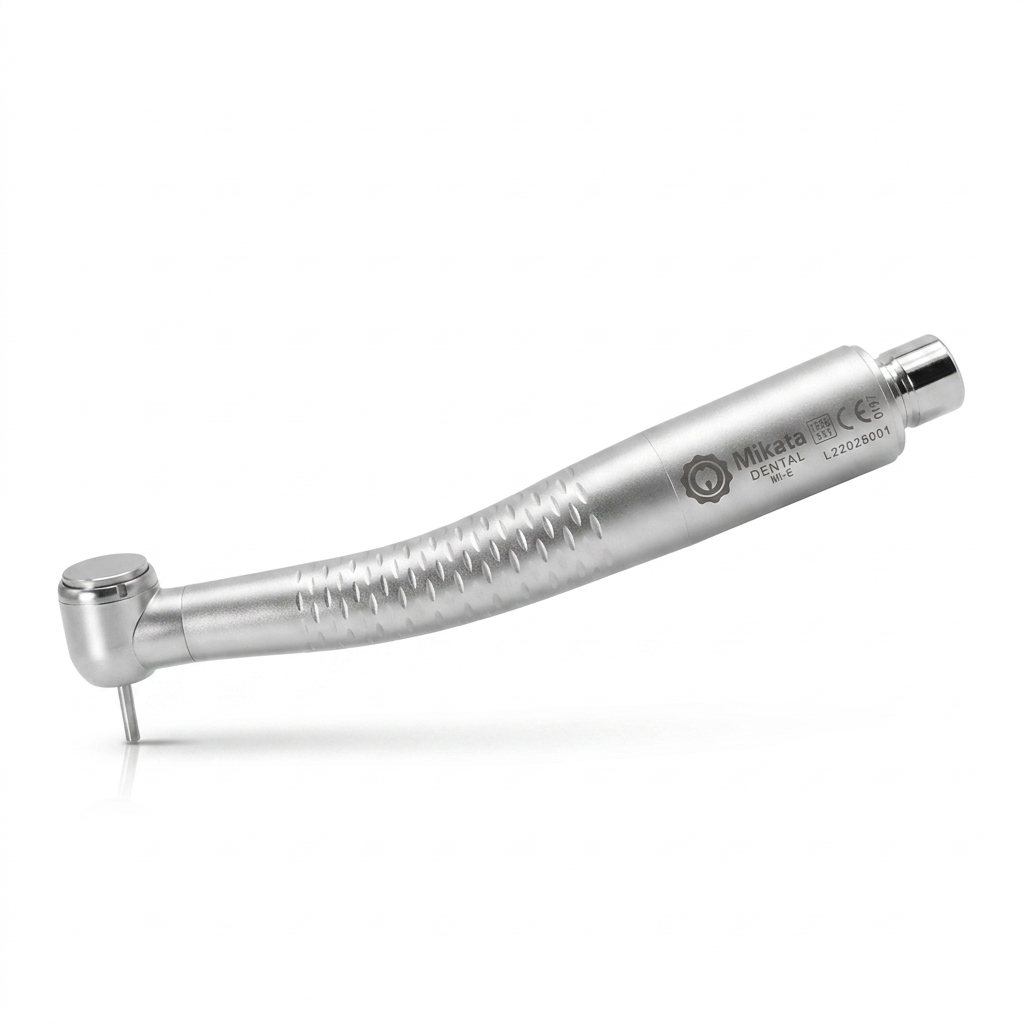
In a busy dental practice, your high-speed handpiece is the ultimate workhorse. If you want to avoid unexpected downtime and protect your clinic’s bottom line, mastering a proper dental handpiece maintenance checklist is absolutely essential. When a handpiece fails, it does more than just disrupt your schedule—it causes unexpected downtime, frustrates patients, and leads to costly emergency repairs or replacements.
The good news? Most premature handpiece failures are entirely preventable. By implementing a consistent dental handpiece maintenance checklist, you can drastically extend the life of your turbines and bearings, keeping your operatory running like a well-oiled machine.

Why High-Speed Handpieces Fail prematurely
Before diving into the routine, it helps to understand the two main enemies of your handpiece’s internal components: debris build-up and improper lubrication.
During use, a handpiece acts like a miniature vacuum, drawing bio-burden, tooth dust, and moisture into the internal housing. If this debris isn’t regularly cleared out, it bakes onto the bearings during the autoclaving process. Combine that with under-lubrication (which causes friction) or over-lubrication (which clogs the air lines), and you have a recipe for turbine failure.
The Daily Dental Handpiece Maintenance Checklist: 3 Critical Tips for Perfect Care
To protect your investment, ensure your clinical team follows these step-by-step instructions after every single patient use.
1. Wipe Down and Purge
-
Remove the bur: Always remove the diamond or carbide bur before cleaning.
-
Clean the exterior: Wipe the outside of the handpiece with a damp paper towel or a soft brush under running water to remove gross debris.
Important: Avoid submerging the handpiece in water or using harsh chemical disinfectants, as these can corrode the internal metals and break down seals.
-
Purge the lines: Attach the handpiece to the tubing and run air and water through it for 20–30 seconds to flush out any retracted fluids from the internal lines.
2. Lubrication (The Critical Step)
-
Choose the right adapter: Use the correct nozzle attachment for your specific handpiece brand (e.g., Midwest 4-hole, KaVo, NSK).
-
Spray the drive air line: Inject the manufacturer-recommended lubricant into the drive air tube (the smaller of the two large tubes on a standard 4-hole connection) for 1–2 seconds.
-
Expel excess oil: Reattach the handpiece to the dental unit and run it for 10–15 seconds before autoclaving. This distributes the oil evenly across the bearings and expels any excess fluid so it doesn’t bake into the turbine during sterilization.
3. Sterilization
-
Bag it properly: Place the clean, lubricated handpiece into a sterilization pouch.
-
Follow parameters: Autoclave the handpiece according to the manufacturer’s exact temperature and time recommendations.
-
Dry completely: Never skip the dry cycle. Leaving moisture inside the handpiece can lead to rust and premature bearing failure.
Pro-Tips for Long-Term Maintenance
Beyond your daily dental handpiece maintenance checklist, keeping an eye on these technical variables will ensure ultimate equipment longevity:
-
Check Your Air Pressure: Running your dental unit at a higher PSI than recommended might make the handpiece feel more powerful, but it puts immense stress on the bearings, causing them to wear out exponentially faster. Stick to the manufacturer’s specified PSI (usually between 30 and 42 PSI).
-
Inspect the Chuck Mechanism: Once a week, test the chuck. Debris can build up inside the push-button mechanism, leading to a loose grip on burs, which is a major safety hazard. Clean the chuck weekly with a dedicated chuck cleaner or brush.
-
Invest in an Automatic Maintenance System: If your clinic handles a high volume of patients, consider upgrading to an automated handpiece cleaning and lubrication station. These systems eliminate human error by delivering the exact amount of oil required and thoroughly purging the internal components every time.
Conclusion: Consistency Saves Capital
While a routine dental handpiece maintenance checklist might seem like a chore when you’re rushing between appointments, dedicating just two minutes to proper care after each use will save your practice thousands of dollars in turbine replacements and lost production time.
Print out the checklist below, laminate it, and keep it right by your sterilization station to ensure your team never misses a step.
📋 Downloadable Dental Handpiece Maintenance Checklist
| Step | Action Item | Checked |
| 1 | Remove the bur and flush internal water/air lines for 20 seconds. | ☐ |
| 2 | Clean exterior with running water (do not submerge or use chemical wipes). | ☐ |
| 3 | Apply 1-2 sprays of quality lubricant into the drive air port using the correct adapter. | ☐ |
| 4 | Run the handpiece for 15 seconds to distribute oil and purge excess fluid. | ☐ |
| 5 | Clean the chuck mechanism (weekly or if bur slippage occurs). | ☐ |
| 6 | Bag the handpiece and run a full autoclave cycle, including the complete dry cycle. | ☐ |